Arts and Crafts: Chinese Lantern

Chinese Lanterns

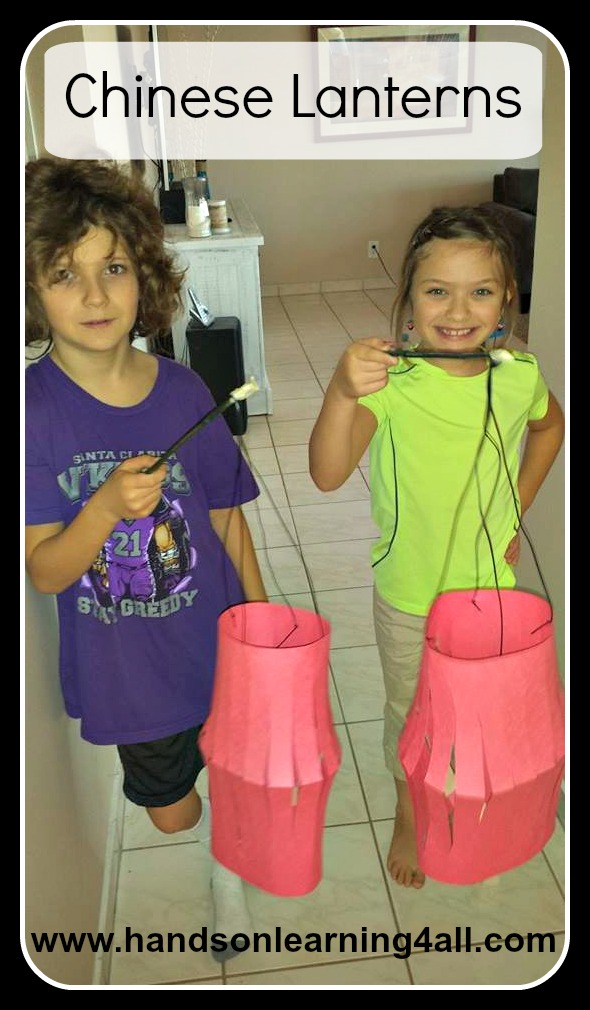
Today we learned about Genghis Khan. We wanted to do an arts and crafts project, but let’s face it Genghis Khan wasn’t an ‘artsy craftsy’ fellow so, we decided to work off of the Chinese portion of the lesson and make some Chinese Lanterns.

I was surprised by the excitement of my children toward this simple craft! So I wanted to share this lesson with you.

Materials: (makes one lantern)
1, 11″x18″ piece of construction paper
1 Chop stick
2 pieces of string (approximately 18″ each)
Masking Tape
1 Flameless tea light

Preparing the paper:

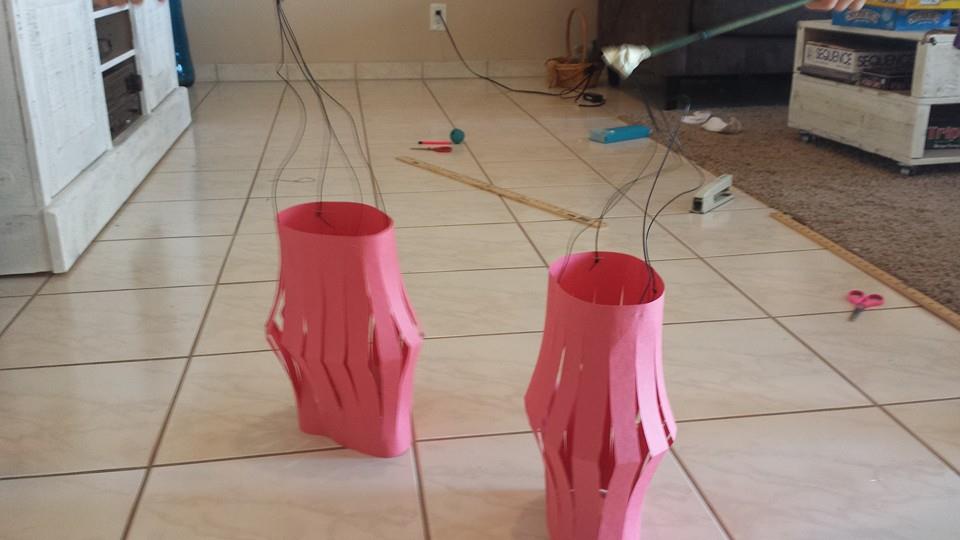
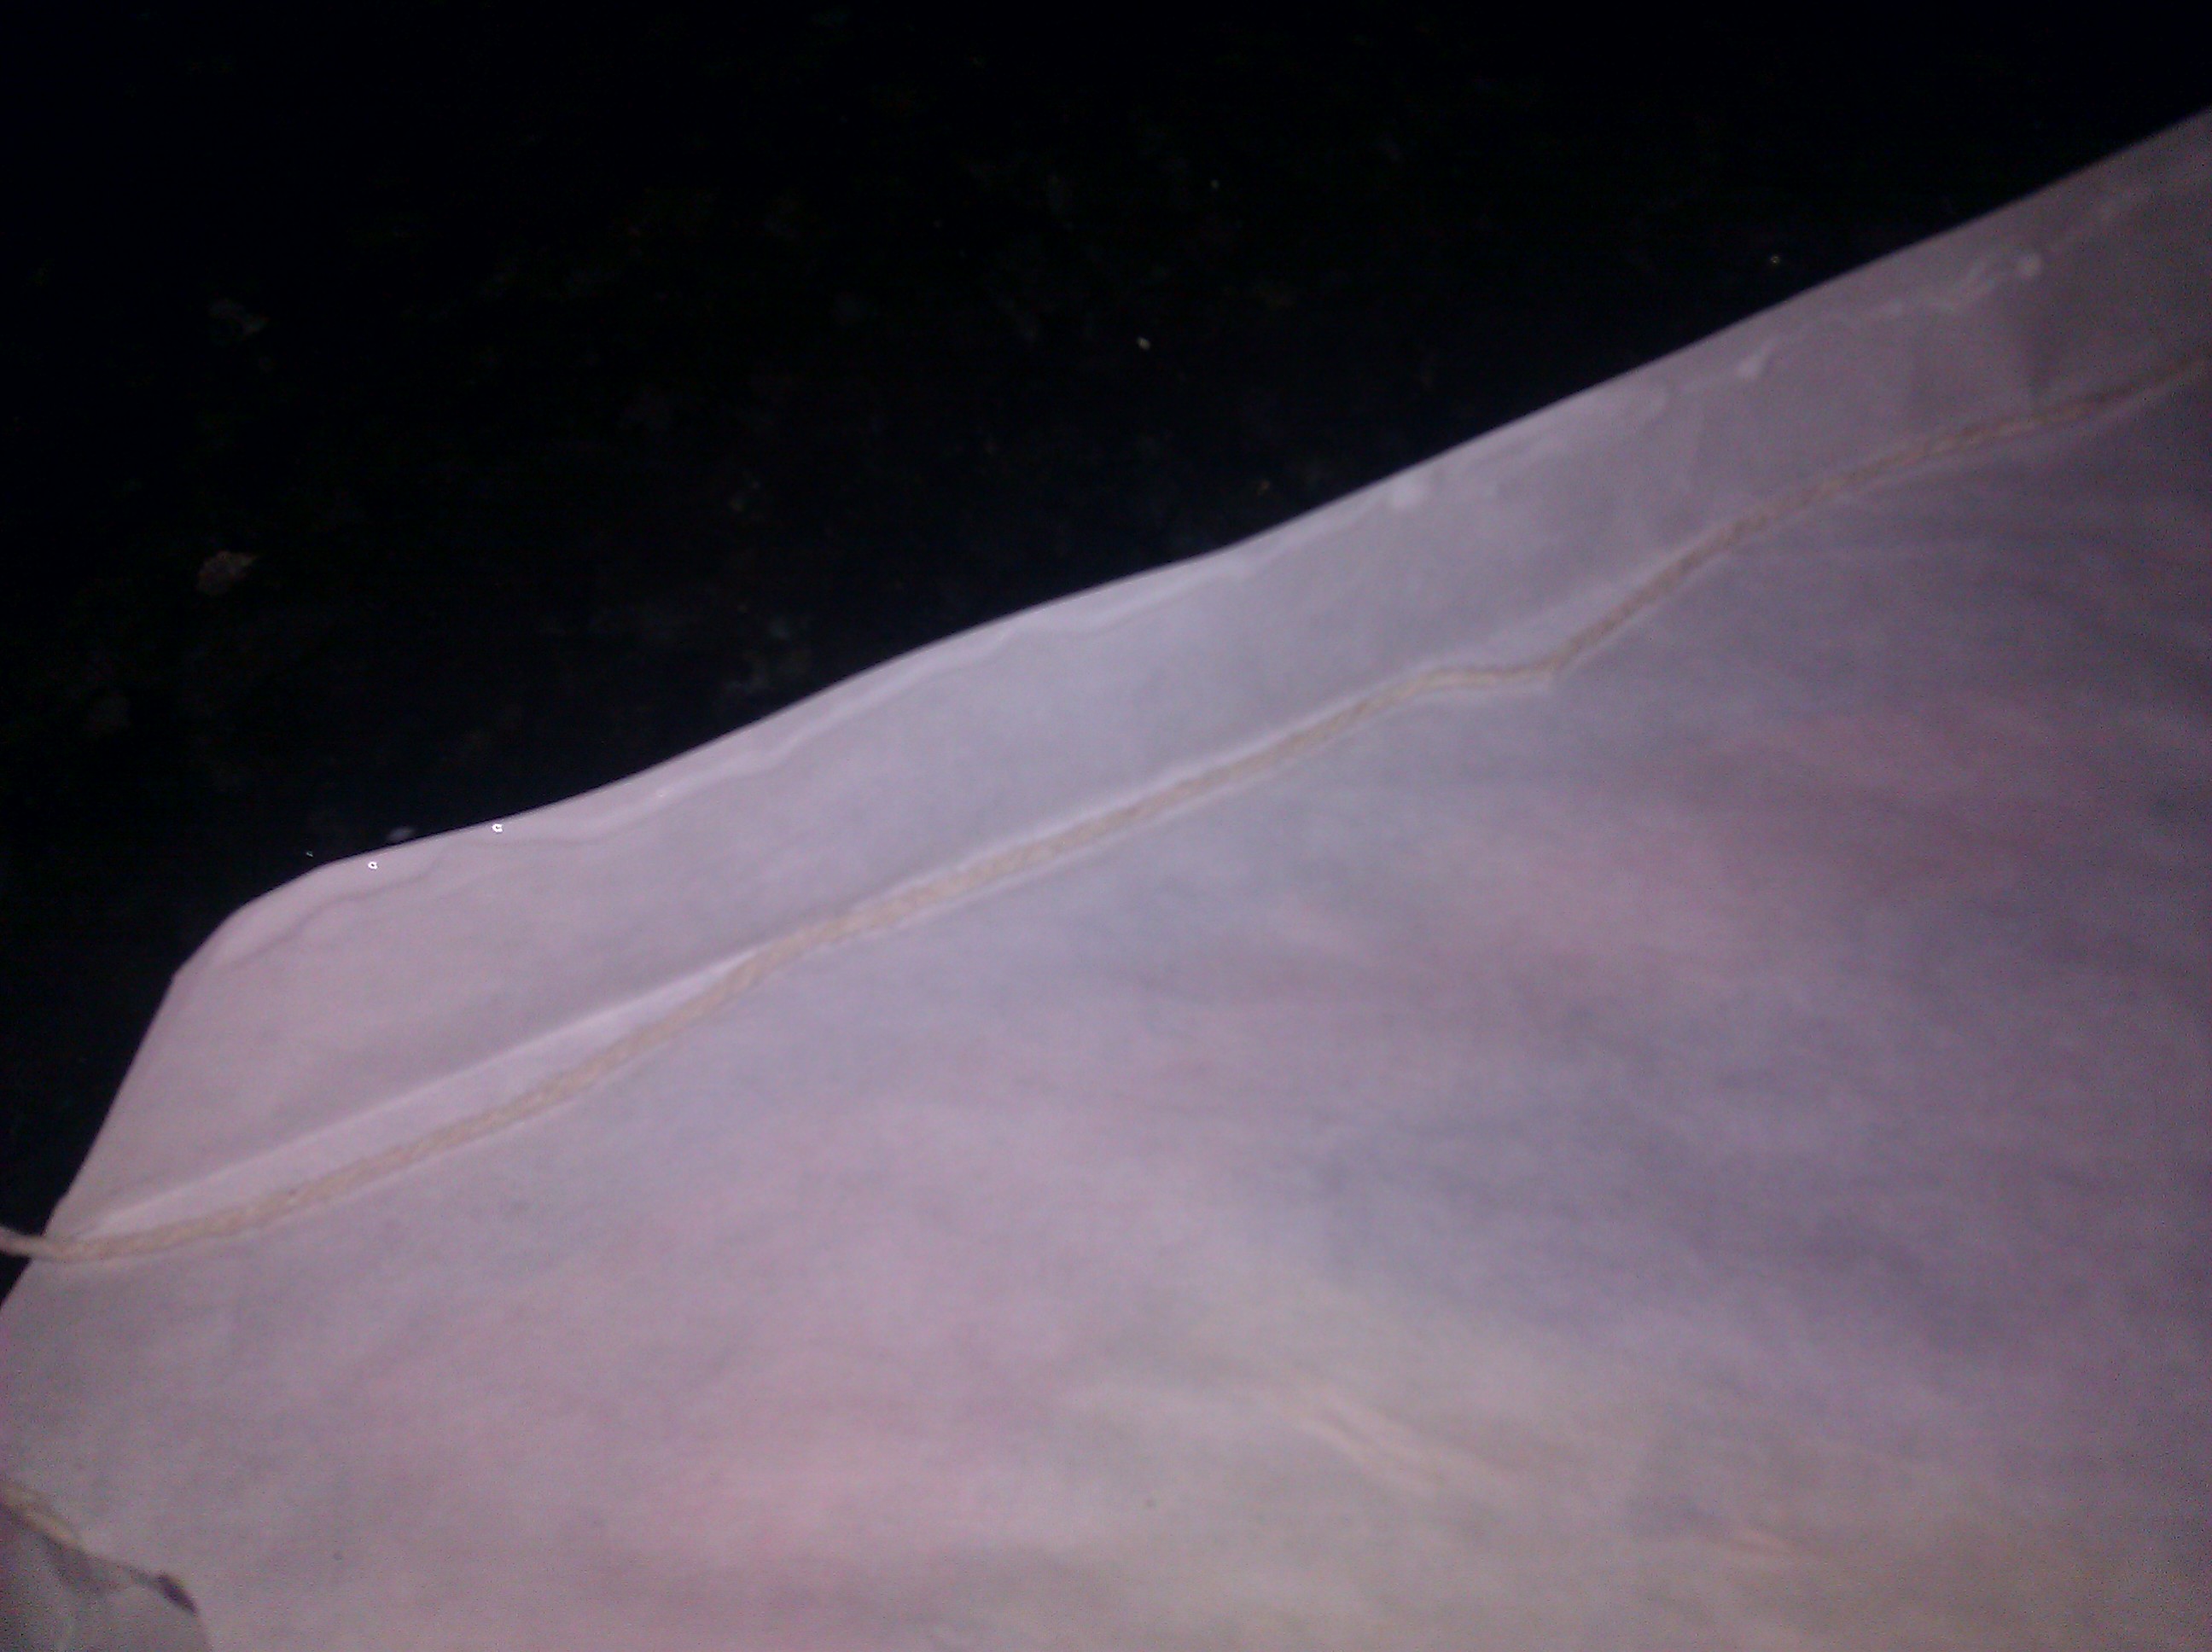
First we took a standard 11″x18″ piece of construction paper and folded it in half ‘hot dog’ style.

Then we measured with our rulers and marked off 1″ increments along the long edge of the paper.

We made an additional line at the opposite side of our markings along the entire edge about 1″ in from the edge. (This would be the place to stop cutting.)

Finally we cut straight lines from our measured markings to the ‘stop line’.
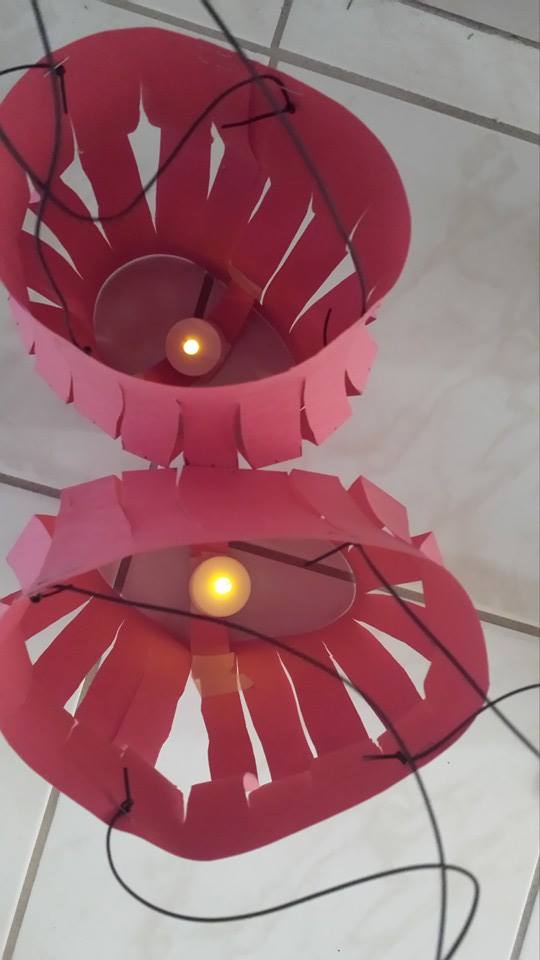
10417562_10206003247426016_6953660053500074109_n

Assembly:
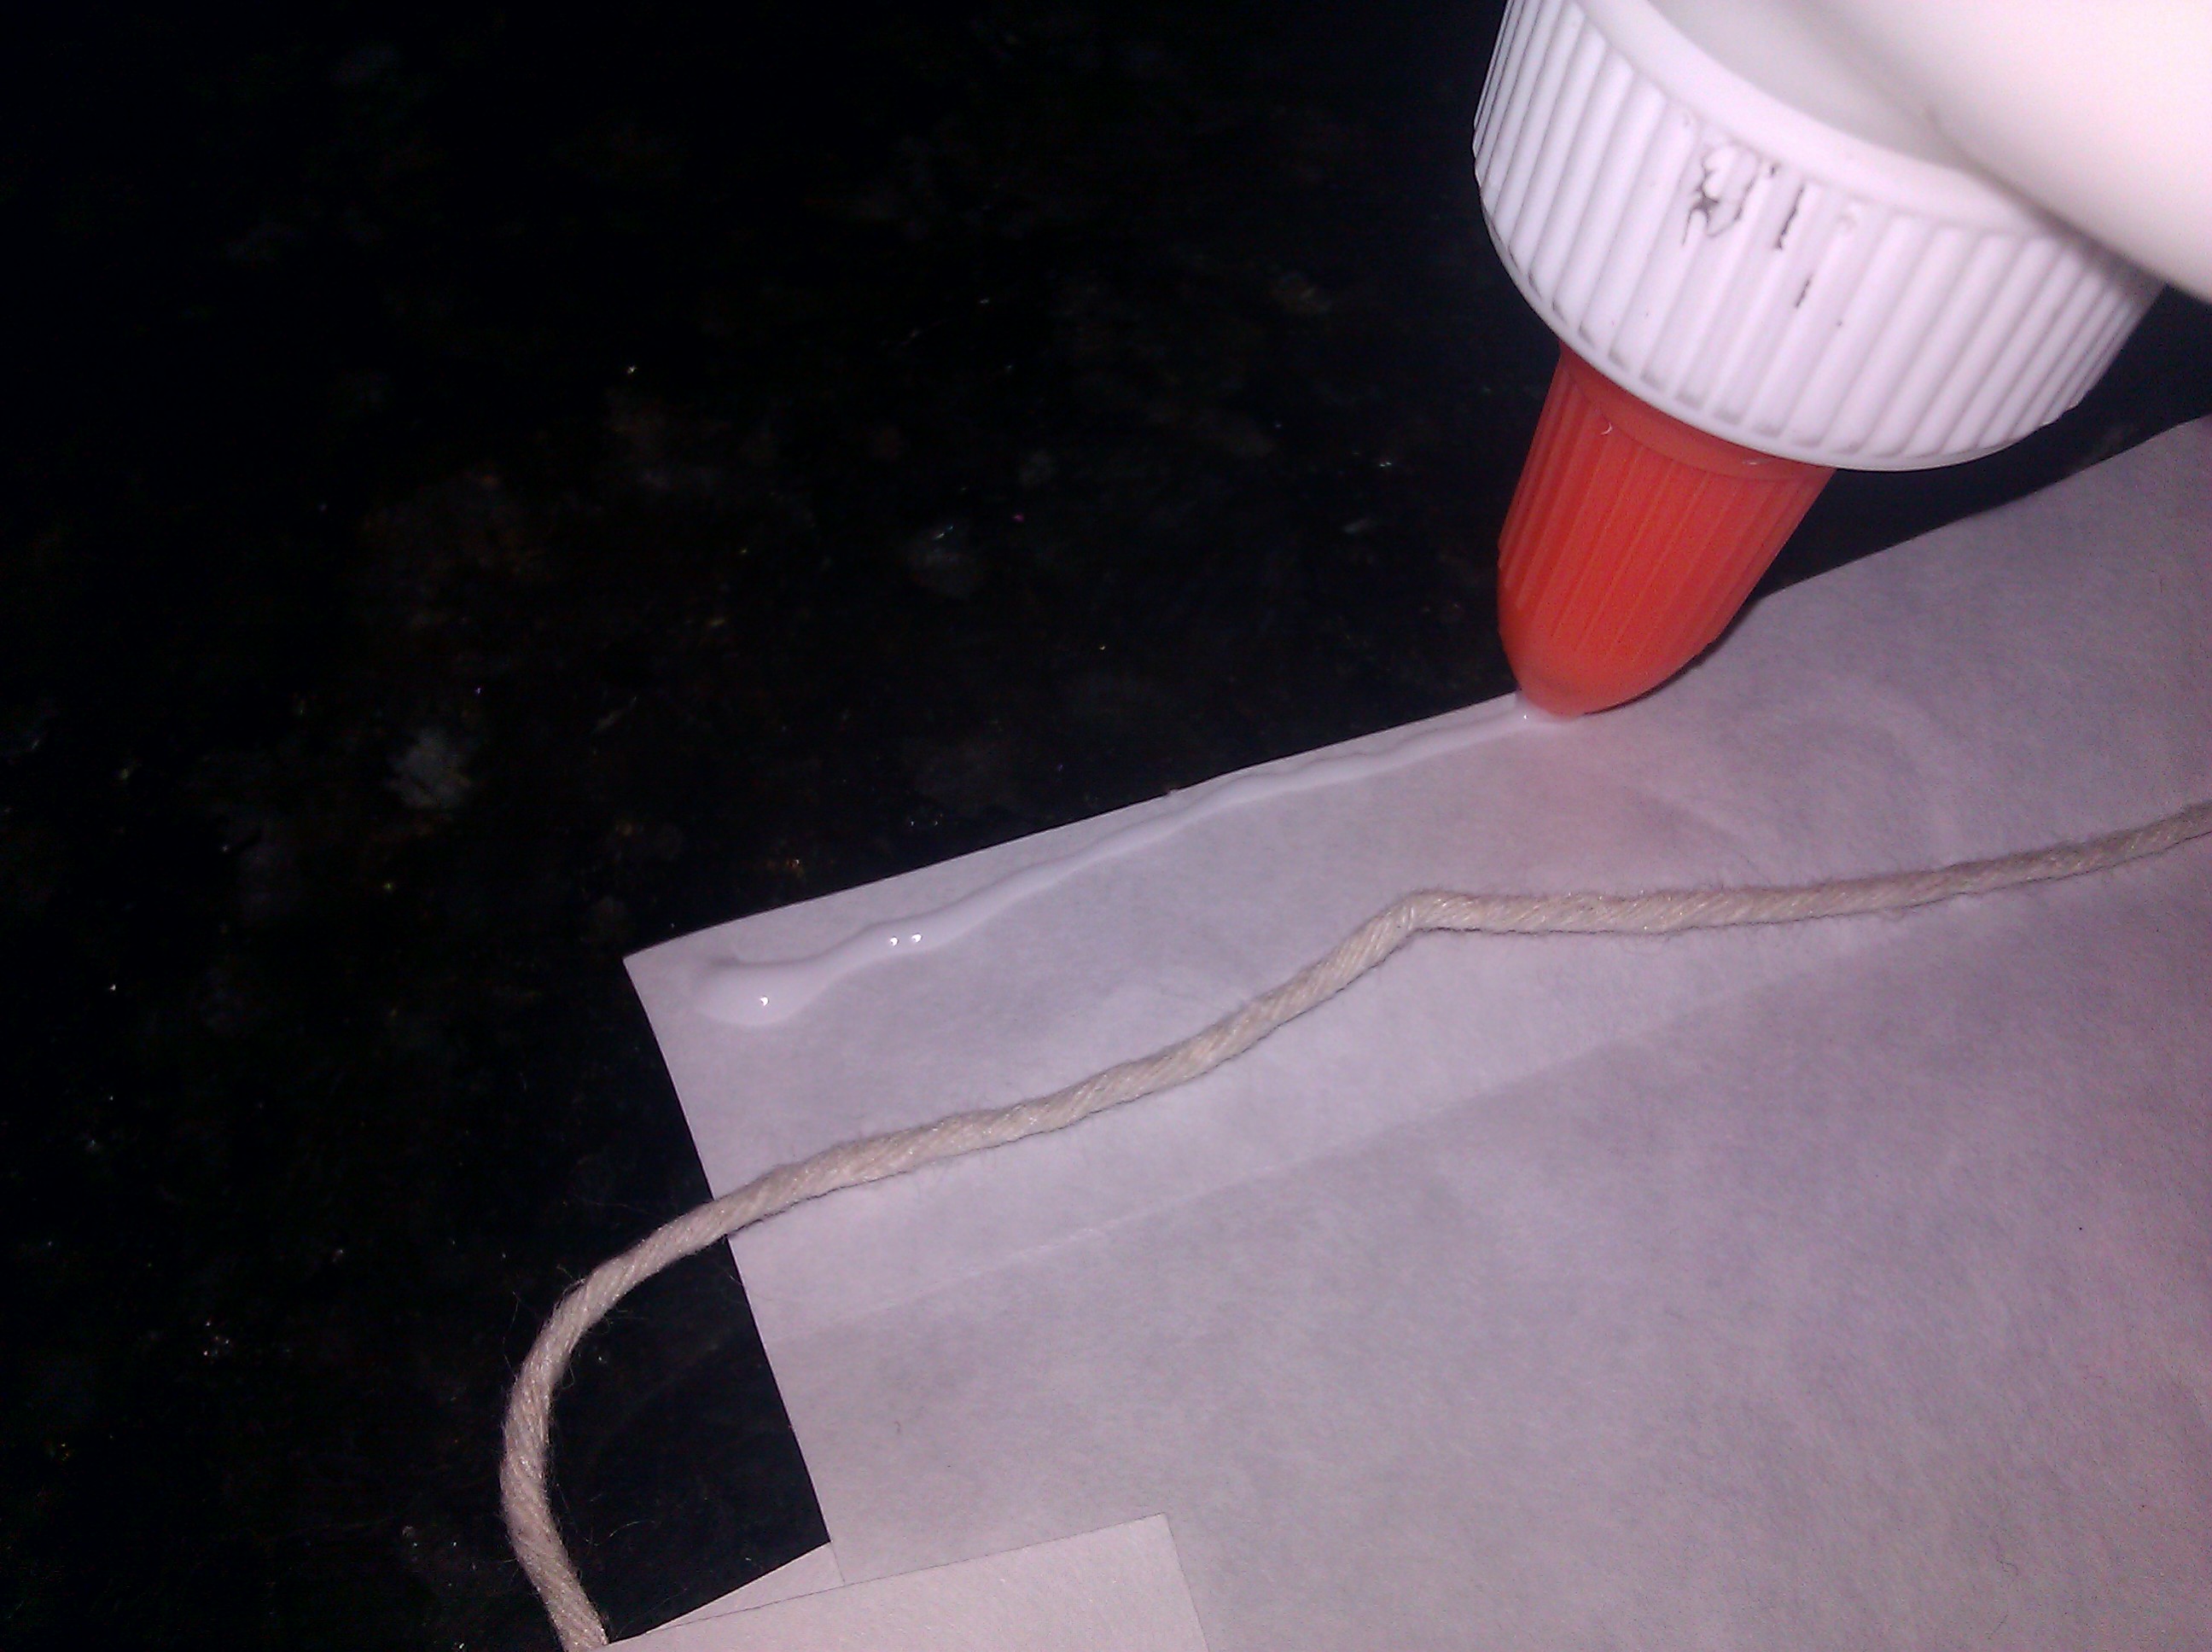
We opened up the folded paper and curled the opened paper into the lantern shape. Then stapled the two short ends of the construction paper together at the top and the bottom of the lantern.

We cut one small strip of paper and fastened it across the bottom of the lantern to hold our candles. (flameless tea lights)

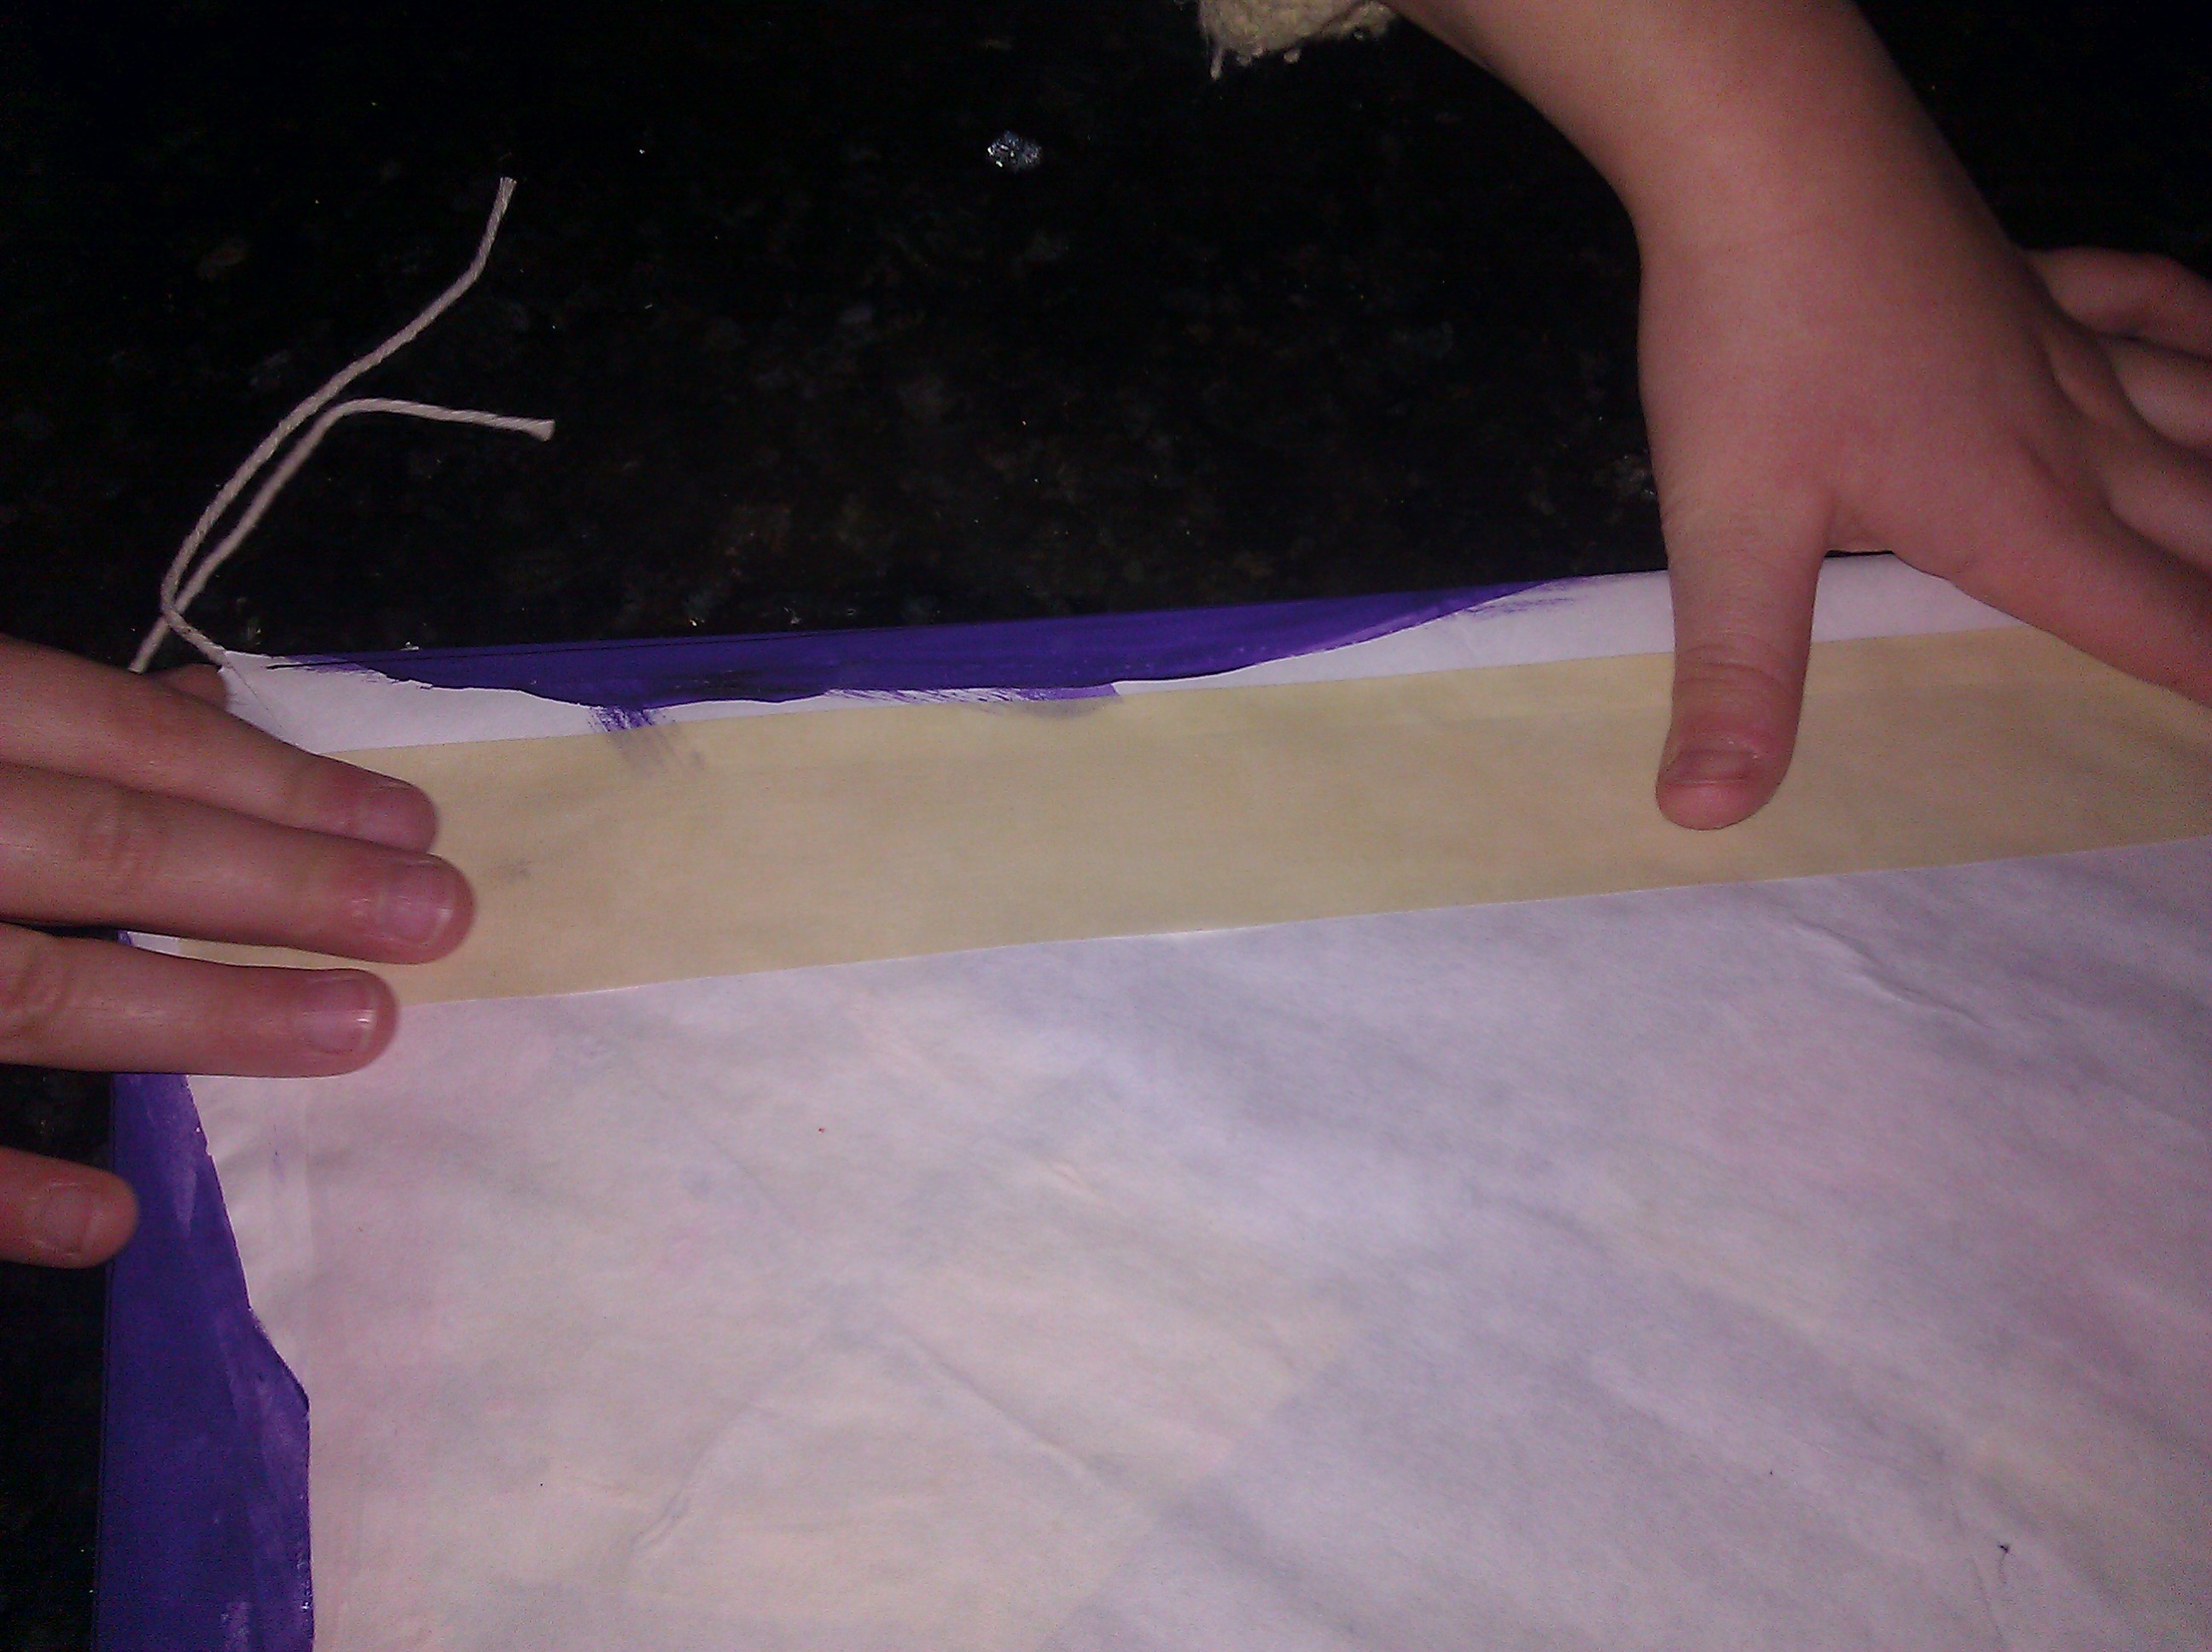
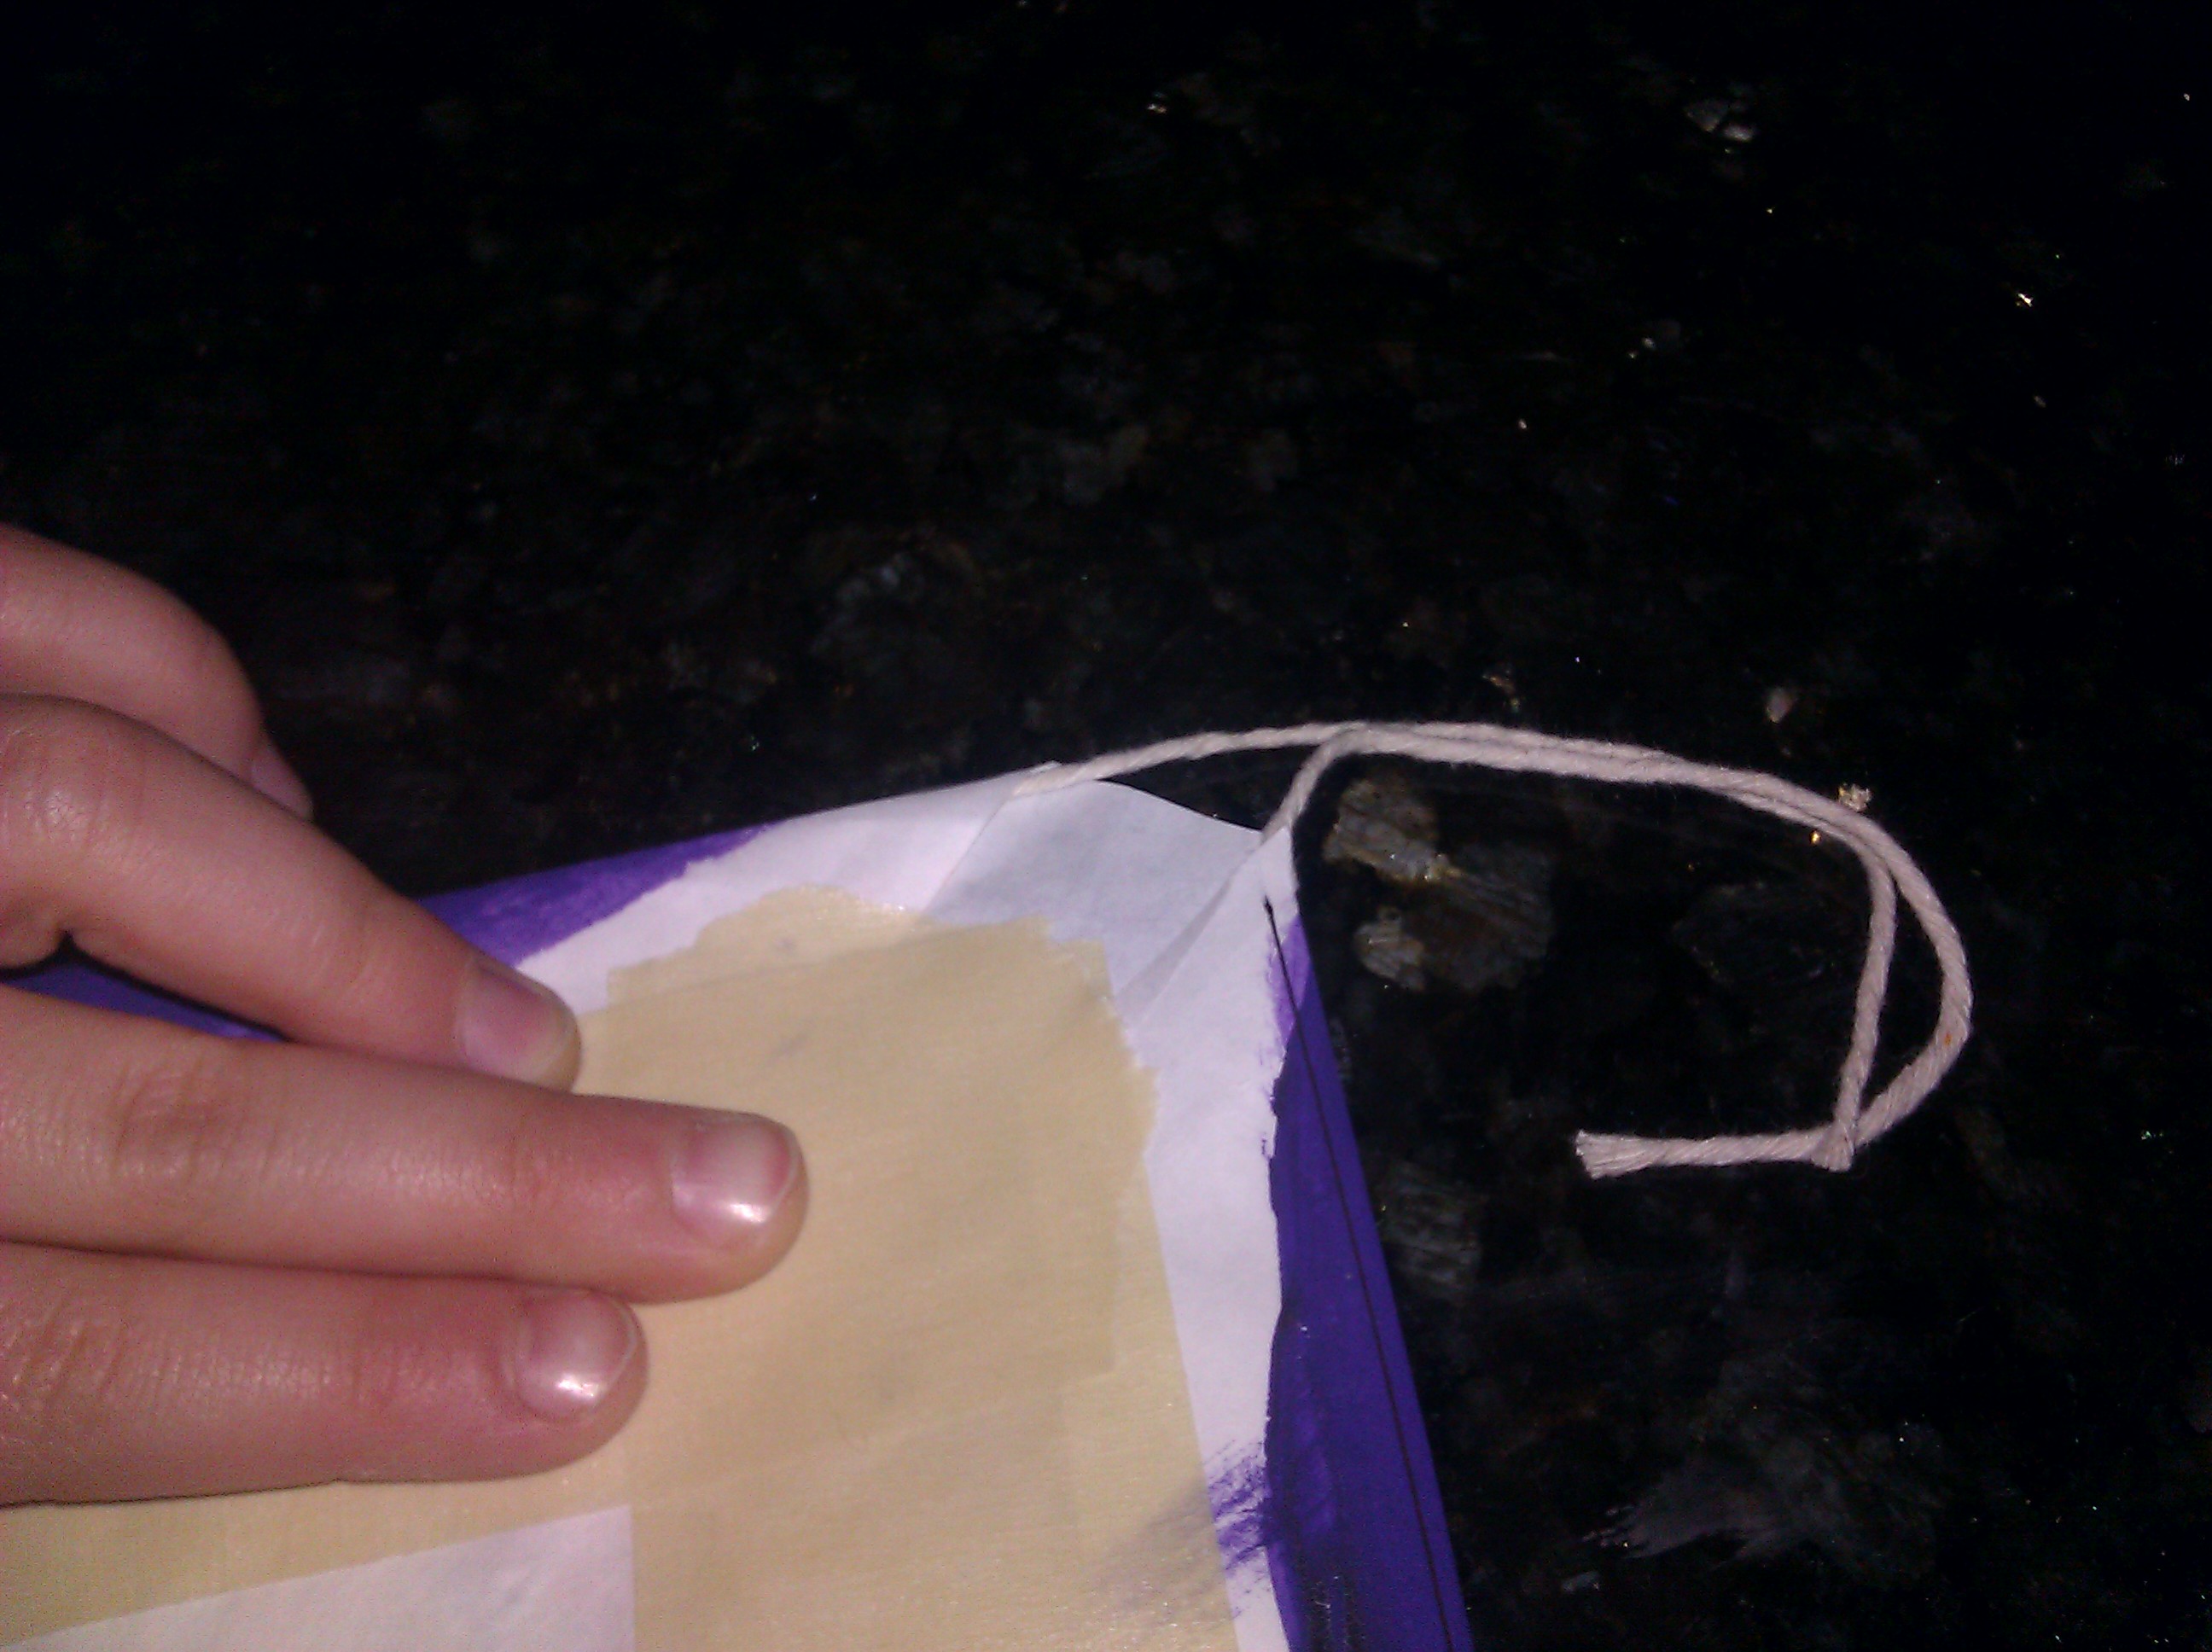
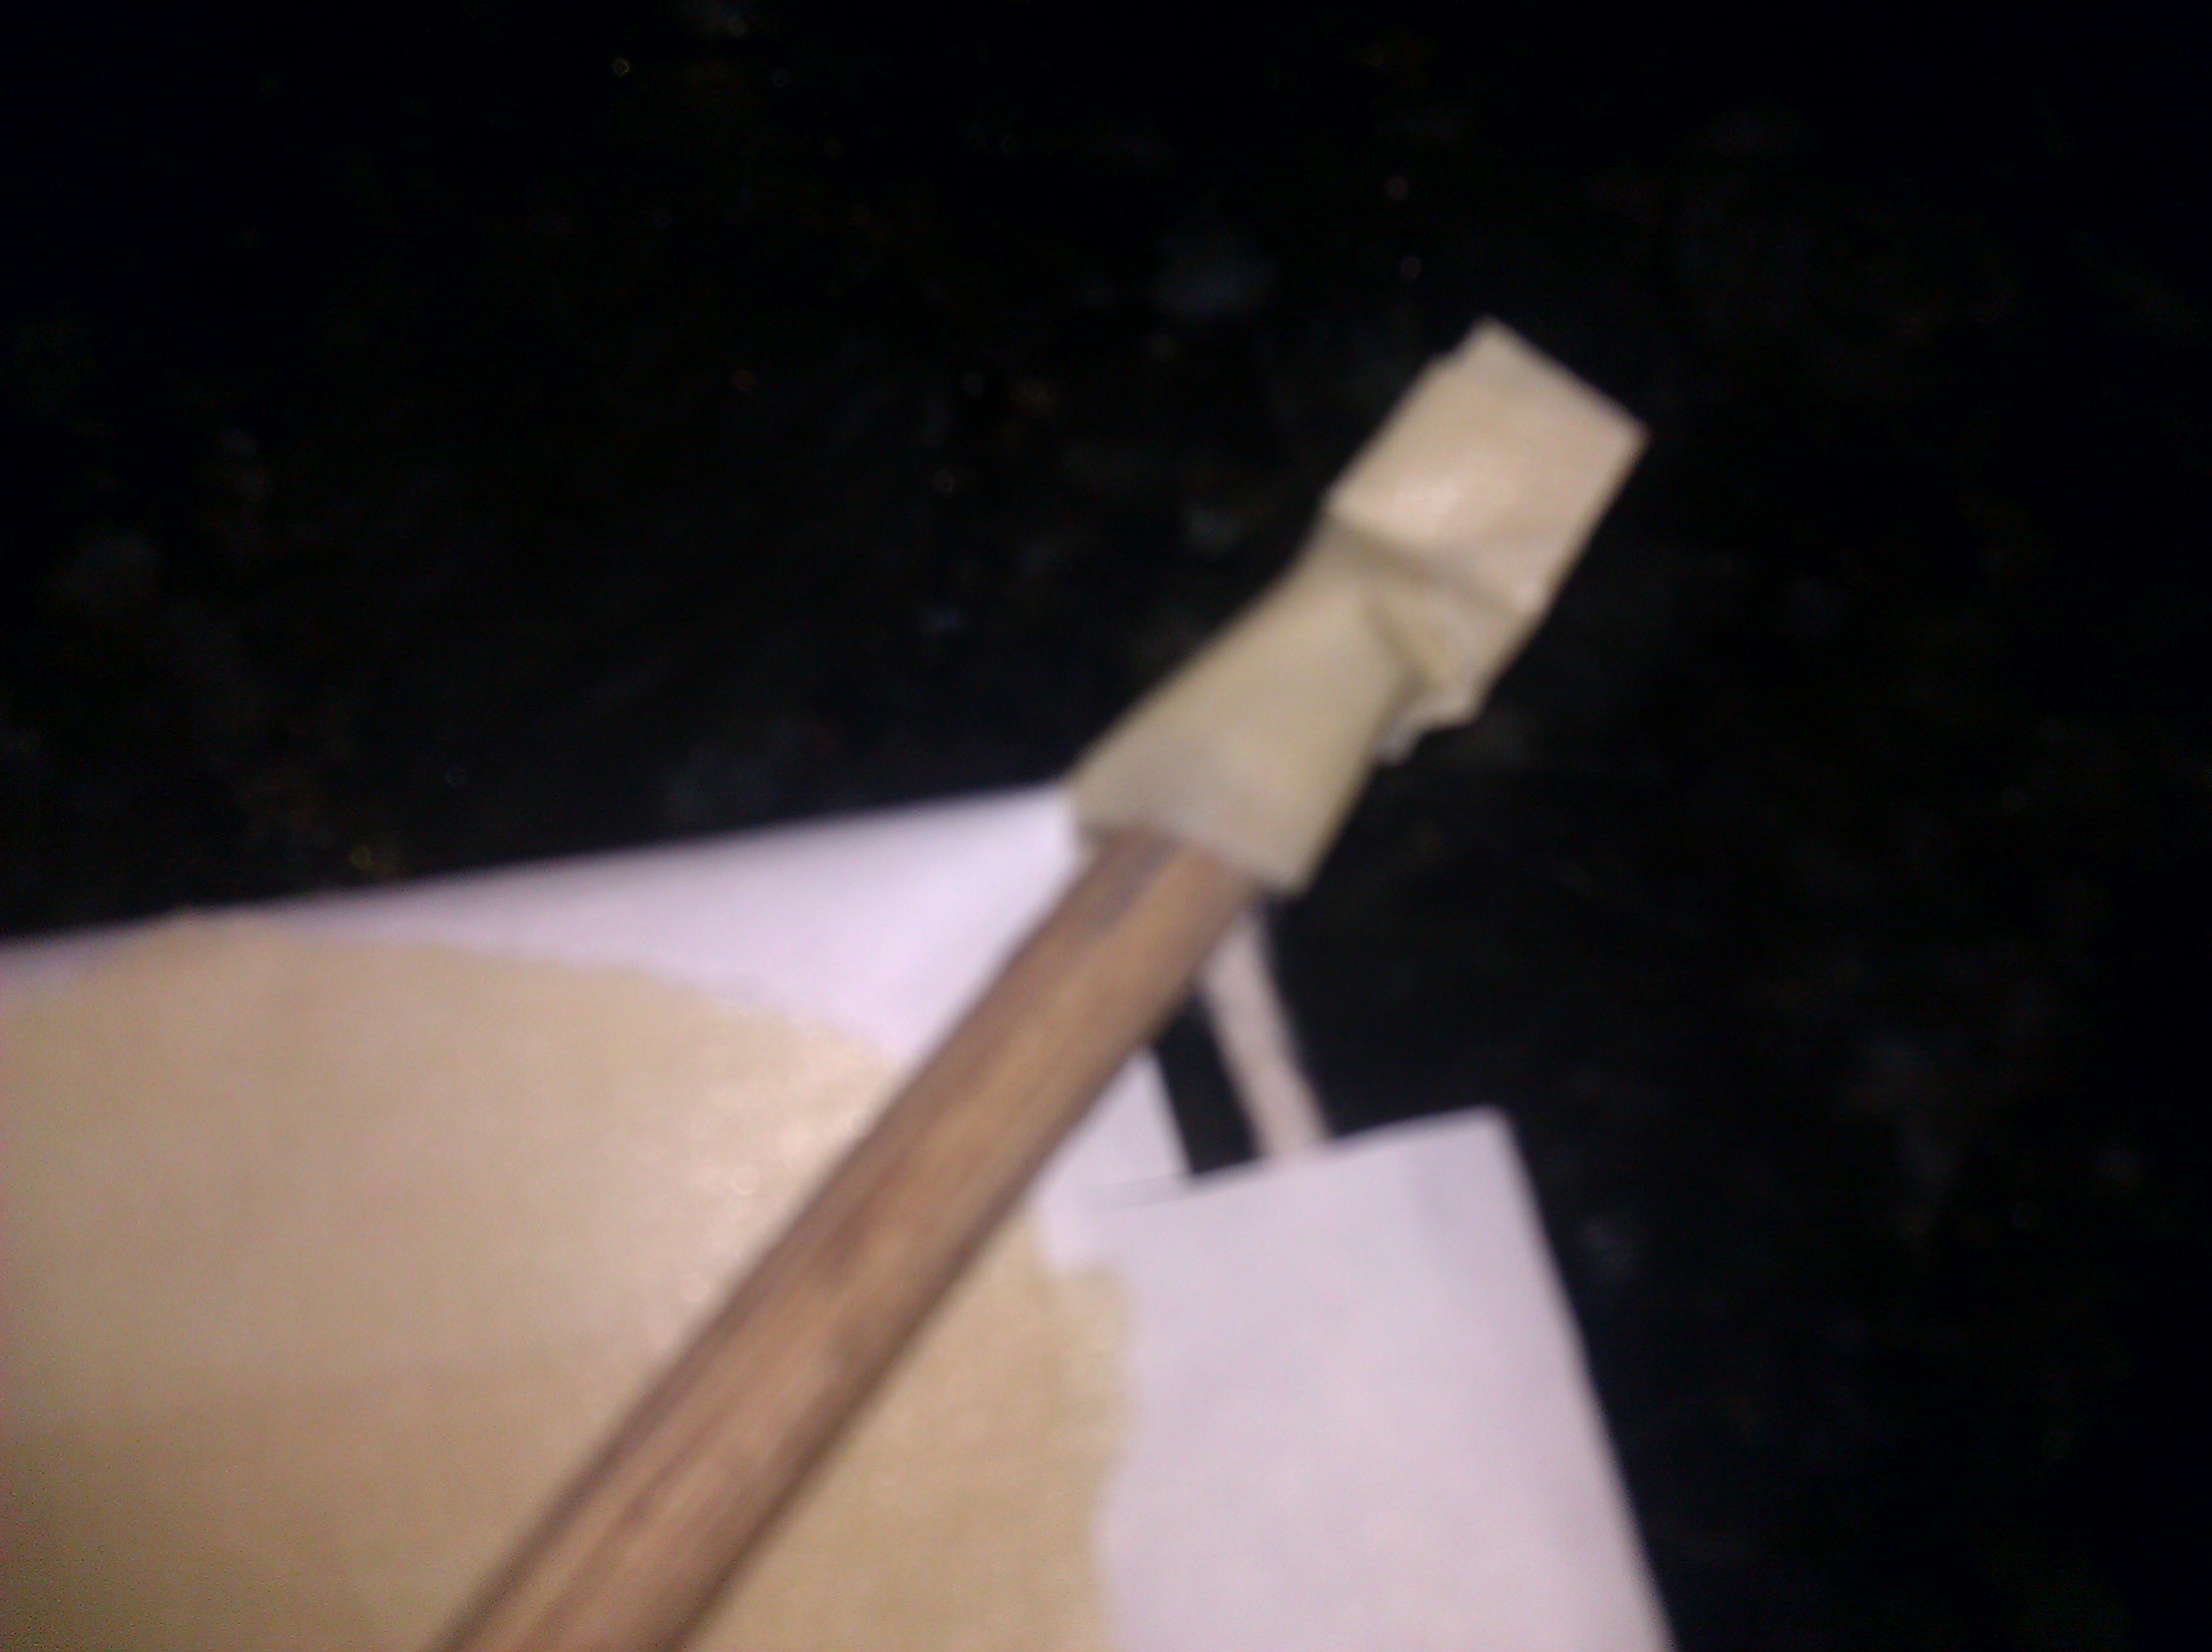
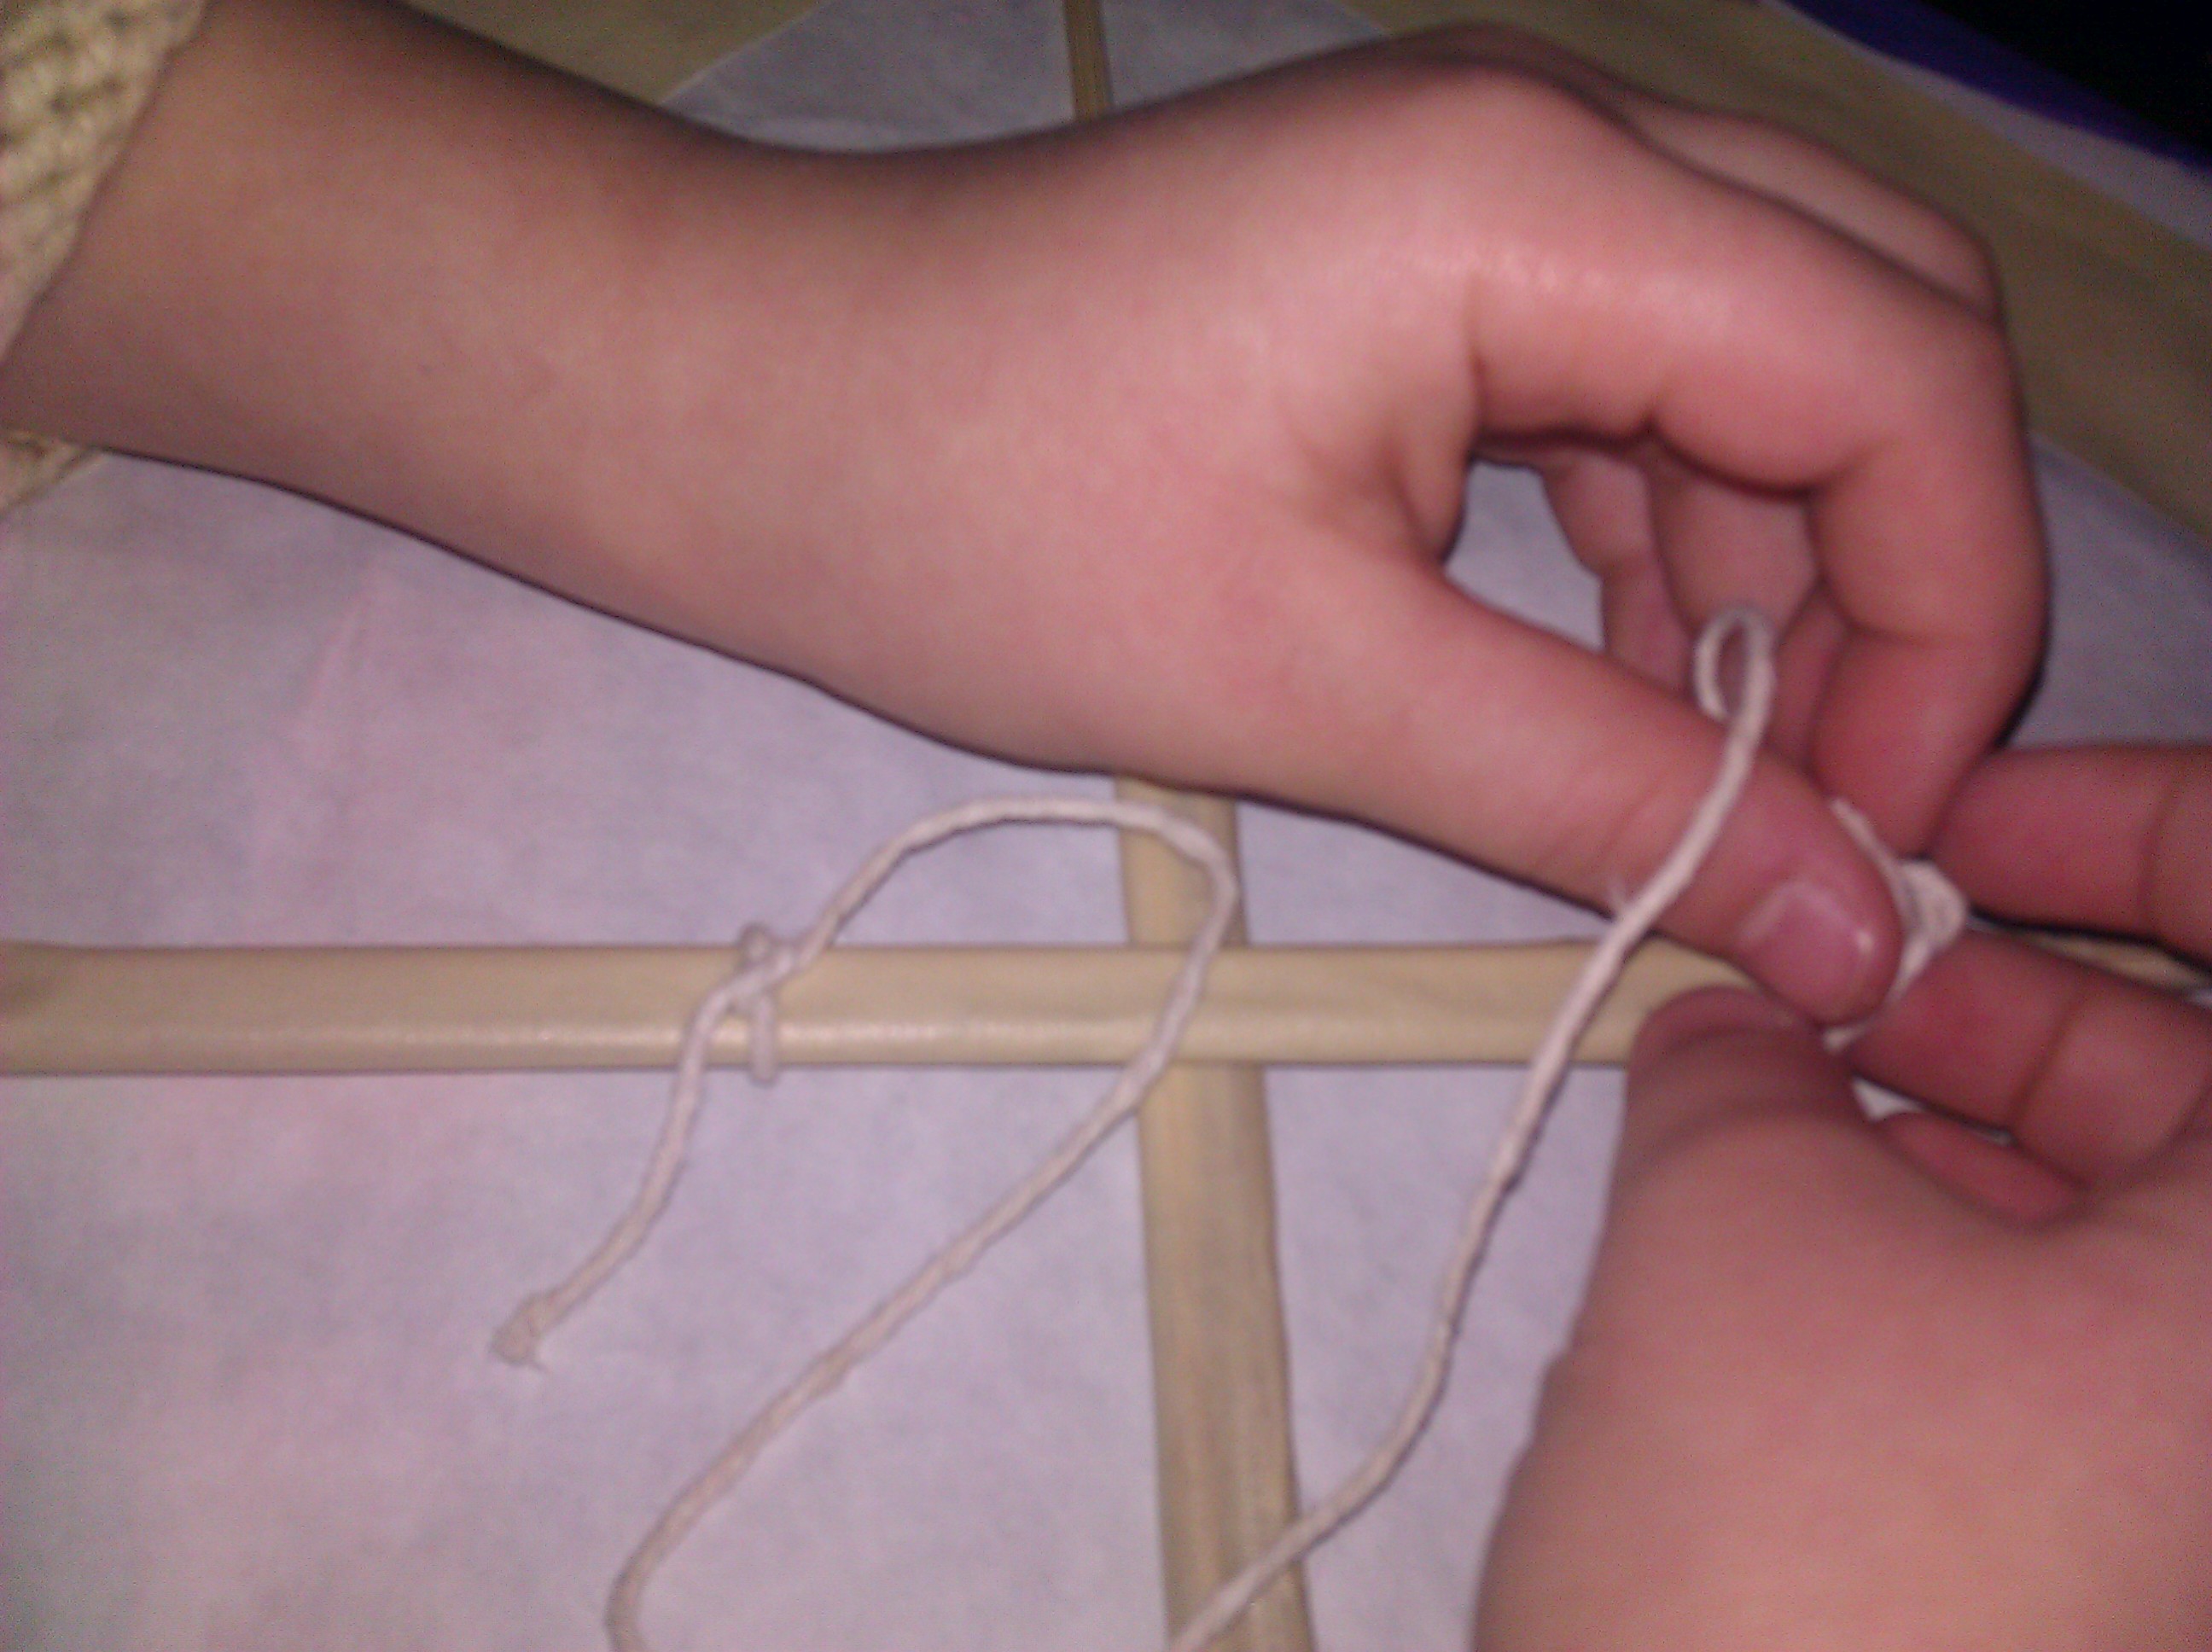
We stapled the strings to the top of our lantern and attached them to a stick with tape.

That’s it. My children took their finished lanterns into a darkened room and bounced them up and down. They both remarked how much the finished lanterns looked like ‘jellyfish’ with the tea lights reflecting inside.

With Chinese New Year coming up I thought this activity also would be fun to share with some of our book club friends too. I hope your children enjoy this craft as much as mine did.

10929021_10206003247146009_8826311810408736420_n

Learning Science Naturally: Grasshoppers!

Learn Science Naturally-grasshopper

We took home-school outside today because the weather was so beautiful! As we sat at our outdoor table with our books and we completed a lesson in science, it occurred to me that SCIENCE was all around us. So we did some exploring and found this little guy! My daughter named him Tom!

Learn Science Naturally-grasshopper2

We got out our science journals and took some observation notes about ‘TOM’ in his natural environment. He was happily munching on these tree leaves and we were able to see him using his mandible and palps. We took note of his antenna and how they moved around while he was eating. We decided we wanted a closer look so we carefully captured TOM (the grasshopper) in a glass jar and put the lid on loosely. Then we got our magnifying glasses out and did some closer observations.

We could easily see this grasshopper’s exoskeleton and we discussed how it would serve as protection for him. We were fortunate enough to observe him go to the bathroom too! So we talked about what we might see inside of a grasshopper–> A digestive system but NO bones!

Grasshopper_bw

We then did a bit of research and were able to name and label his body parts on some pictures that we drew. We also learned some facts about grasshoppers like:

  • Grasshoppers can jump 20 times their own length. We measured our grasshopper using a ruler and then calculated the distance that he could jump by doing the multiplication!
  • Grasshoppers can live on every continent except for at the poles. We took out our globe and named all of the continents that grasshoppers could live on.
  • There are more than 18,000 different species of grasshoppers. We looked at some pictures of various species online.
  • Grasshoppers are herbivores and only eat plants. We drew the conclusion that they could do some real damage to our vegetable garden based on the amount of leaves he had already eaten on the tree where we found him.
  • We recalled that the Magic Tree House book, Twister on Tuesday, mentioned the damage that a swarm of grasshoppers could cause to crops and even household items like clothes and sheets.

Grasshopper collage

There were many other observations and discussions that we had based solely on discovering a little grasshopper in our backyard! I encourage you to take science outdoors the next time you get into a learning ‘slump’ and see what you can discover!

Resources:
Below are some of the resources we used for our learning:
*Bug Facts.net: http://www.bugfacts.net/grasshopper.php
*EHow- Interesting Facts-Grasshoppers: http://www.ehow.com/info_8503914_interesting-grasshoppers-kids.html
*Twister on Tuesday: http://amzn.to/1mfIGnm

Make Your Own Kite

Make your own kite

There is something about kite making that is whimsical and fantastic. Ever since the first time we watched Mary Poppins together we have LOVED flying kites on a windy day. This year my daughter wanted to make her own kite just like the one in Mary Poppins. So we looked up a few ways to do it and got crafting.

518bsZvX-6L._SY300_

Step 1: We did not have a thin dowel rod, so we glued and taped a few Chinese Take-out chop sticks together.

Step 2: My daughter painted a design on a large sheet of craft paper and then we cut it into the traditional diamond shape.

Step 3: We lined up our chop sticks to extend through the center of our kite to the points and then looped string around all of the four sides.(We used butchers string for use in the kitchen but any sturdy string will do.) We folded the sides of the kite paper over the string and carefully glued and taped down the edges.

IMG_20140205_100854

IMG_20140205_100936

IMG_20140205_101217

IMG_20140205_101401

Step 4: We pulled the string that is resting on the tip of each chop stick tight and tied off the bottom of the string to complete the frame around the kite.

IMG_20140205_101953

Step 5: We taped the string to the chop sticks at each corner to secure them together and make a sturdy frame.

IMG_20140205_102433

Step 6: We tied a small loop of string on the center chop stick. This string serves as the attachment point for our long kite string.

IMG_20140205_102701

Step 7: We tied on a very long piece of fabric as the tail to the bottom of the kite. (We used an old sheet that we cut into strips. We started off with a 6′ kite tail but the kite spun in the air, so we added another strip of fabric and ended up using a 12′ kite tail to steady the flight of our kite.)

IMG_20140205_102827

I hope that you will sing “Let’s Go Fly a Kite” with your kiddos while you fly your homemade kites!

All About Frogs– A Reading Comprehension Set of 2 Matching Games and a Student Book

Frog set cover

We LOVE springtime at our house! We always try each year to raise tadpoles into frogs. (You can search on this BLOG to see some accounts of our attempts.) Last year was the first time we were able to collect eggs from a local stream and raise the little critters into frogs.

California Tree Frog May 2013

Watching the metamorphosis in person was incredible. My children expressed the emotions of parents when they watched those little eggs ‘give birth’ to those tiny fish-like tadpoles and then again as the tadpoles grew! When the little critters grew legs my kids became excited to learn more about the changes that were occurring. It was amazing to learn about the development of lungs in our tiny little friend’s bodies.

Finally when they grew into full-fledged frogs and they absorbed their tails my children also got to experience the feeling of ’empty-nest’ when we released them back into the wild at the same place where we collected the eggs. We will try again this year to collect some frog eggs! And along with our observations we will set up our science center with the two matching games I just created to review the facts we have learned about these wonderful amphibians!

Frog set

My All About Frogs Set includes 2 matching games (Total of 32 cards) and a 10 page student book. The student book is a non-fiction book containing facts about frogs including topics such as classification, diet, hibernation, metamorphosis and others. A teacher fact sheet about frogs is included. Teachers can review the facts with their students, students can read the student book and then play the matching games. The games are made to be self correcting so they are perfect as a follow-up in a learning center, in small groups, or for independent play! Common Core Standards Covered: RI.2.1, RI.2.3, RI.2.10, RI.3.1.

book (6)

I also have this 4D Frog Puzzle from Amazon.com that expands our frog learning center and takes the science learning to an anatomical level. We compared this model to a similar model of a shark that we have in our science collection and also discussed how our bodies are similar and different in comparison to a frog’s and a shark’s.

515JweYAn1L._SL1500_

Hands-on learning in science is a MUST! Try my All About Frogs:Reading Comprehension Set of 2 Matching Games and a Student Book to help your learners become more engaged in learning the facts about frogs!

Valentine’s Day Learning! Math Facts Practice AND Poetry!

Valentine's Day Post

Since I home-school I like to keep holiday learning light and fun! Today is Valentine’s Day and Friday so I decided to do a couple of craft projects for school today.

I have two children home-schooling with me. My son is in third grade and my daughter is in first grade. I could make two separate lessons but WHY do that when I can just differentiate the same lesson for my two learners!

Here’s what we did for math
V-tines Math Flip Flap Puppy
(Click the picture for a closer view.)

You have probably seen this cute little cut and paste Valentine’s Day puppy before AND we made him more interactive by adding addition (for my first grader) and multiplication (for my third grader) facts on the pieces. Then we made each piece a ‘flap’ by only gluing one edge down. Under each ‘flap’ we wrote the answers! Differentiated, math fact practice, Valentine’s Day craft fun! Yay!

Here’s what we did for language!
V-tine's Poem
(Click the picture for a closer view.)

We took the traditional poem:
“Roses are red.
Violets are blue.
Sugar is sweet
And so are you.”

And we used the beat and rhyme pattern to make our own poems about things that interest us. My son chose dinosaurs and aliens.

“Dinosaurs are real.
Aliens are fake.
Candy is good.
But you are a cake!”

Both my children learned a lot about beat and rhyme within poetry from this simple assignment which they thought would be VERY easy. It was a challenge to not use any of the original poem! First we mapped out the original poem on our white board to show which lines rhymed and which ones didn’t. Then we started brainstorming by developing the two rhyming lines. Then we filled in the other lines.

Who says school can’t be fun-filled and creative? Happy Valentine’s Day!

Complete Primary Winter Literacy Center Set

set layout

I love themed learning centers. With all of the snow that most of the nation is getting right now it is hard NOT to do a learning set that isn’t winter themed. So I created my Complete Primary Winter Literacy Center Set to offer 7 activities, games, and lessons for primary learners to explore language within a fun, colorful snow theme.

This set includes:

  • **The Snowman – an original story written by Veronica Stanley-Hooper
  • **3 Writing Prompts
  • **9 Story Sequencing Cards for “The Snowman” book
  • **16 Vocabulary matching cards
  • **1 Build a Snowman Following Directions Activity – 4 Tracing pieces and Directions Card

For a total of 30 pieces of literacy learning for center work or small groups!
All of the games are self-correcting and PERFECT for independent learning too!

Covers Common Core Standards:
CCSS.ELA-Literacy.W.1.1
CCSS.ELA-Literacy.W.1.2
CCSS.ELA-Literacy.W.1.3
CCSS.ELA-Literacy.L.1.4
CCSS.ELA-Literacy.L.1.4a
CCSS.ELA-Literacy.RL.1.2
CCSS.ELA-Literacy.RL.2.7
CCSS.ELA-Literacy.RL.3.7
AND
Key Concepts:
• To follow written directions in order to assemble a complete piece
of work.

This set is great for First, Second, or Third graders. You can find it on my Teachers Pay Teachers Store : http://www.teacherspayteachers.com/Product/Complete-Primary-Winter-Literacy-Center-Set-7-Language-Arts-Lessons-1051019

Winter Primary Writing Set – The Snowman – CCSS. ELA W.1.1, 1.2, 1.3

Cover tease Winter writing

My daughter LOVES to write in her journal and to do creative writing. But as part of the standard elementary curriculum students need to write for purpose too. I developed this set for both my first grader and my third grader to use to practice three different types of writing –an opinion paragraph, a narrative paragraph, and a sequential/informative paragraph.

inside book

The book tells a charming story of a group of children who make a snowman. When they go indoors for some hot cocoa the snowman makes a wish for a family. After drinking their cocoa the children return outdoors to continue building. They build a snow family and the snowman gets his wish! The book is written in child friendly prose with lots of high frequency words and the inside cover page of the book lists some words for review, so text is easy to read and understand. The story also serves as the basis for the three writing assignments included in this set.

WRITING SET

The set includes the book “The Snowman” written by Veronica Stanley-Hooper (me) and three writing prompts. The first writing prompt asks students to retell the story in their own words using picture clues that are printed next to the words First, Next, and Last. The second prompt asks students to offer a review of the story by answering the questions that are numbered in the directions. The last writing prompt asks students to write the directions for building a snowman in order using the sentence starter words: First, Next, Then and Last. The teacher should demonstrate or read examples of finished paragraphs before setting children off to write their own using the writing prompts in the set.

You can find the Winter Primary Writing Set – The Snowman at my Teachers Pay Teachers store here: http://www.teacherspayteachers.com/Product/Winter-Primary-Writing-Set-The-Snowman-CCSS-ELA-W11-12-13-1024761

Studying Crystals – Science, Art and Writing

Crystals

It’s wintertime and even though we live in Southern California we do like to study winter themes at this time of the year. So we have taken the past few days to study crystals. Here’s what we did!

Make Salt and Sugar Crystals

We boiled some water and I poured it into a beaker. Then we poured in salt to make a supersaturated solution. The definition of a supersaturated solution is a state of a solution that contains more of the dissolved material than could be dissolved by the solvent under normal circumstances. By heating the water and stirring vigorously we made the water dissolve A LOT of salt crystals (approximately 1c of water absorbed about 2c of salt!) We added salt and stirred the solution until stirring no longer made the salt dissolve and we could still see salt on the bottom of the beaker. Then we added a string of dental floss with a popsicle stick tied to one end and a small eyelet screw tied to the other. We placed the popsicle stick over the top of the beaker and dangled the floss down into the center of the beaker. Within hours we had salt crystals forming. We followed the same procedure for the sugar solution but the sugar crystals took a few days to form –so be patient.

81+JcIQFonL._SL1500_

Learn about Crystals

We watched two videos about crystals. One was “Meet Molly Cule” from the Magic School Bus Series Season 4, Episode 1. This one talks about the two main points (no pun intended) that we discussed during our salt/sugar crystal experiments–> Molecules and crystals! The kids in Mrs. Frizzle’s class create a car wash to meet a famous singer –>Molly Cule. While washing her car they learn about molecules and crystals!

We also watched a video from PBS called Cyberchase, Crystal Clear. This video talks about crystals and crystal formations in a fun adventure show format designed for children. You can find the video here: http://pbskids.org/video/?category=Cyberchase&pid=jgBoRUSoRLtNEX7pWW6EdD5haqnkbWUW There is also a fun follow-up video that talks about making sugar crystals or rock candy. You can find that video here:http://www.pbslearningmedia.org/resource/vtl07.math.geometry.sol.rockcandy/making-rock-candy/

x040123b025

We also read about snow crystals and saw some great pictures on this website: http://www.its.caltech.edu/~atomic/snowcrystals/class/class.htm The pictures are amazing and we learned a lot about the hexagonal shape of snowflakes!

Fun Follow-up

After we learned about the shapes and structures of crystals we decided to fold and cut a few of our own paper snowflakes. We used this website (http://www.origami-instructions.com/origami-hexagon-base.html) as a guide for how to fold an origami hexagon. Then we used our creative energy to cut some beautiful paper snowflakes!

Finally we found these fun polymer crystals that are super fun to play with and symbolically represent snow. They grow to 100x their original size.

71gOCb+hTBL._SL1500_

Even though they do not directly have a crystalline structure similar to snow, sugar, or salt crystals we found them a really fun way to conclude our learning about crystals!

91GCxRF3uZL._SL1500_

Greater Than, Less Than Snowman! CCSS 1.NBT.B.3

Cover tease

Math is always more fun when you are playing a game to practice skills. So I developed this game for my children to practice evaluating number sentences for greater than and less than values. I designed this game with two levels of game play so that my first grader and my third grader can enjoy playing the same game!

Snowman set

This colorful winter themed game contains 80+ game pieces. Your students will compare numbers using greater than and less than symbols in a fun matching game format. The game is designed with two levels of play for beginner and intermediate learning. Both levels are self-correcting and can be played individually, in a small group, or in a learning center. Teacher notes and assembly instructions are included. Common core CCSS.Math.Content.1.NBT.B.3 is covered by playing this game with your students! Yay!

You can find this game on my Teachers Pay Teachers Store here http://www.teacherspayteachers.com/Product/Greater-Than-and-Less-Than-Snowman-Matching-Game-Two-Levels-of-Play-999097.

.


Chill ‘E’ Penguins – A Silent ‘E’ Matching Game and Word Book – CCSS RF.1.3c

cover tease

As you may know I homeschool my children. My daughter is in 1st grade and we have been working on reading with fluency and understanding. Her skills are developing nicely, but words with the silent ‘e’ ending still trip her up sometimes. There are MANY worksheets that claim to practice this skill but frankly I don’t really like worksheets, so I set out with a plan to develop a game to help my daughter practice identify and read words with the silent ‘e’ ending.

set

The Chill ‘E’ Penguins Silent ‘E’ Matching Game and Word Book helps your students practice matching words that have silent ‘e’ endings and their partner words that do not have the silent ‘e’ (such as ‘cap’ and ‘cape’) with pictures. This 34 piece colorful set is designed for your student to practice matching the words on the penguins with the correct pictures. Some words are=> pin, pine, can, cane, cap, cape => plus a lot more! The game is self-correcting. Directions card, teacher notes for instruction and assembly are included.

penguin book cover

The companion word book is colorful, cute and the perfect way for your students to practice reading sentences and using picture clues to determine the missing word. Then your student writes the missing word on the line. All of the missing words end in silent ‘e’ and are a part of the matching game. A handy word bank on the first page of the book helps your student to spell the missing word correctly.

The Chill ‘E’ Penguins Silent ‘E’ Matching Game and Word Book covers common core standard CCSS.ELA-Literacy.RF.1.3c Know final -e and common vowel team conventions for representing long vowel sounds. The game is perfect for individual or small group play or you can use it in your literacy learning center. The word book is great for independent practice or for use in small instructional groups.

My daughter LOVES to play the game and I have set it up using a pocket chart in our homeschool classroom. You can check it out here http://www.teacherspayteachers.com/Product/Chill-E-Penguins-A-Silent-E-Matching-Game-and-Word-Book-Set-984072 on my Teachers Pay Teachers store!

.