
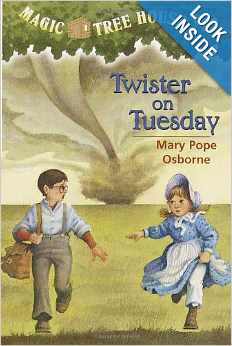
I lead a small book club for home-schooling students in my area. The book that we discuss at our meetings always comes from the Magic Tree House series by Mary Pope Osborne.

This month’s book was Twister on Tuesday. It was an exciting tale about the main characters, Jack and Annie, and their magical trip to the past to visit a one-room schoolhouse on a prairie in the mid-west. During their trip they experience a twister (tornado) and save a group of students and their teacher by knowing about a storm cellar located below their school house.
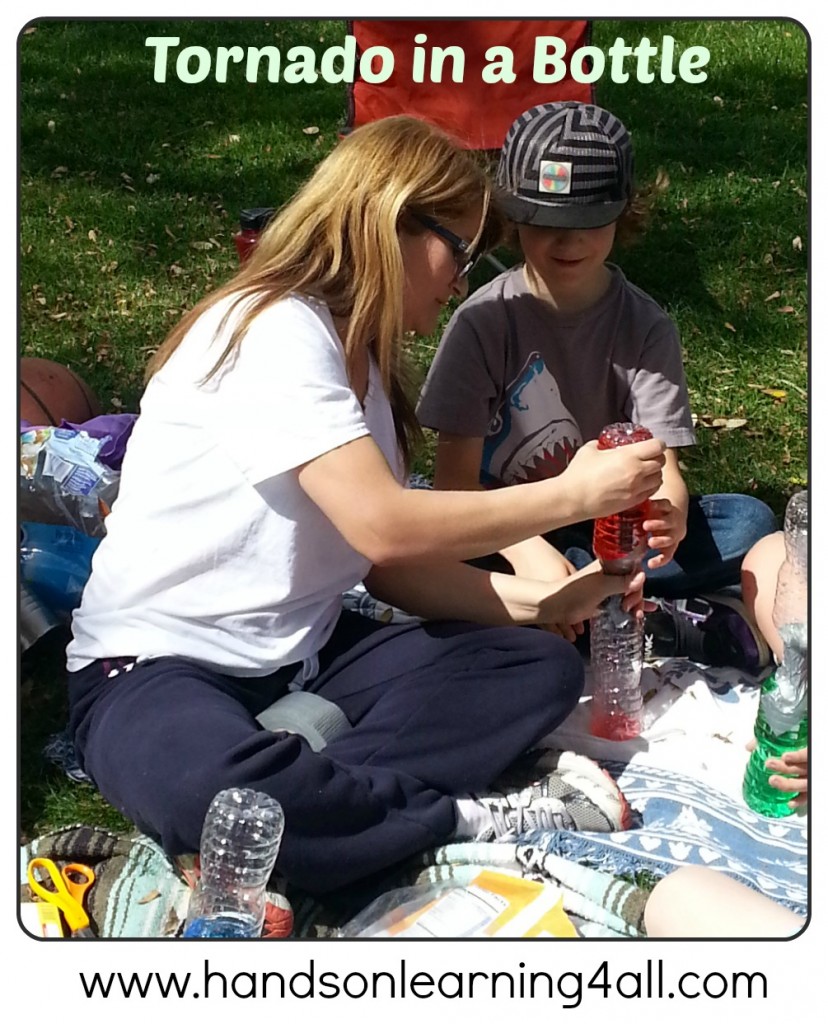
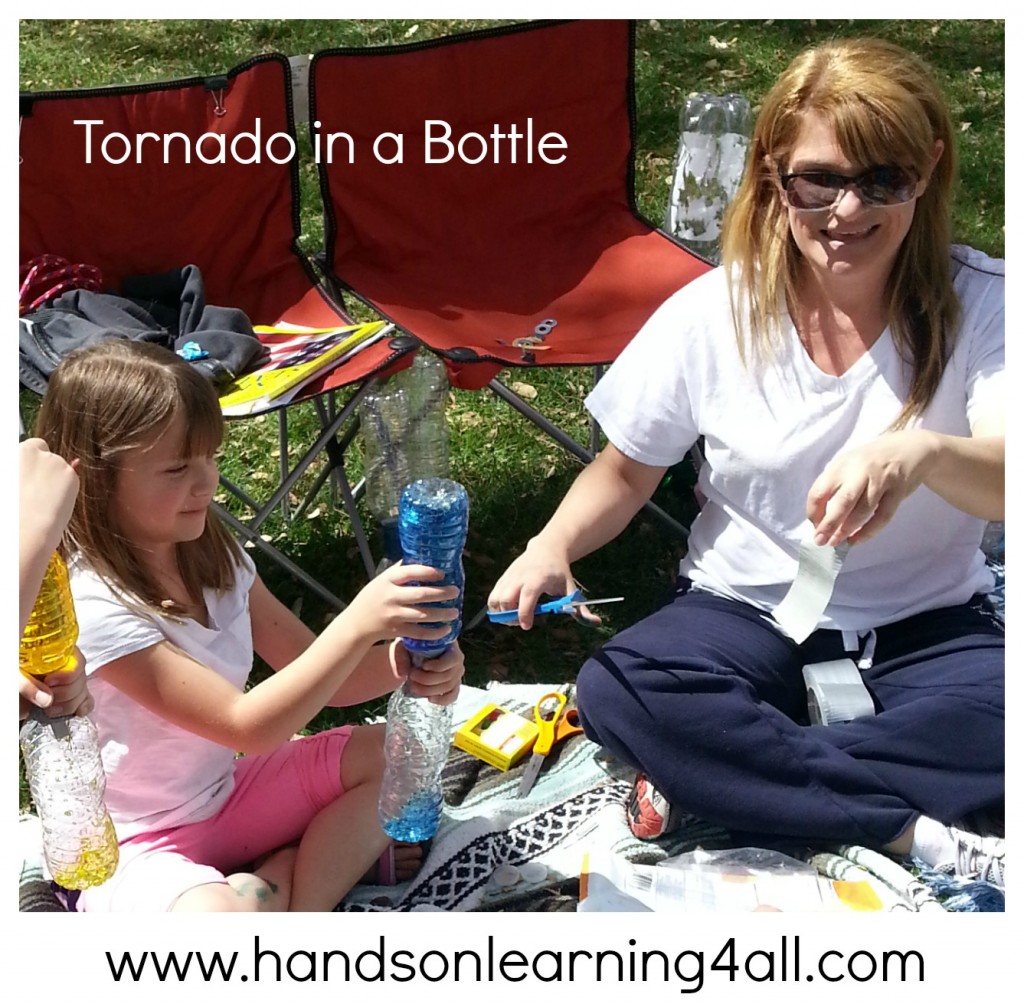
After our book discussion I plan an activity for the students that is relevant to the story. This time I planned the ‘Tornado in a Bottle’ activity.
Here’s how we did it:
Materials needed:
2 water bottles of the same size (one must be empty.)
1 washer that fits on the top of an open water bottle without falling through.
Duct tape
Food coloring (optional)
Assembly:
1. Place the washer on the top of the empty water bottle and fasten it down with two small strips of tape.
2. Carefully open the other water bottle and put a few drops of food coloring into the water. (Too many drops will make it difficult to see your tornado.)
3. Carefully place the empty bottle (with washer attached) on the top of the full bottle with the two openings facing each other. Make sure the openings are aligned.
4. Use the duct tape to tape the two bottle necks together. Use small pieces to get your alignment perfect. Then finish off with several large overlapping pieces to insure a leak-proof seal.
Directions for the Tornado effect:
1. Flip the bottle with the water to the top position by lifting your bottle set by the full bottle. (If you flip by holding the empty bottle your seal make break under the weight of the full bottle of water.)
2. Carefully give your top bottle (one with the water) a swirl by holding the necks of your two bottles with one hand and your other hand will move the top bottle in a fast circular motion. (If you don’t do this part the water will just ‘glug’ into the bottom bottle.)
3. The vortex or ‘tornado’ will form as the water moves from the top bottle to the bottom bottle.
Why does this happen?
While the water wants to flow to the bottom bottle because of gravity, the air needs to flow upward toward the top bottle to fill in the space of the missing water. By swirling the bottles and creating the vortex, you have created the most efficient way for the water to flow quickly to the bottom bottle by swirling around the outside of the bottle while simultaneously allowing the air to move to the top bottle through the ‘hole’ in the vortex.
To complete the bottle assembly I grouped the students into pairs and they assembled one bottle set at a time. I distributed the duct tape in sections to each student set so the students didn’t have to fumble with tape and scissors while steadying the bottles for assembly. The entire project took less than 30 minutes for 5 student pairs to complete. The students really enjoyed swirling their bottles to create the ‘tornadoes.’ Some of the moms enjoyed watching the ‘tornadoes’ so much they continued to swirl them after the kiddos had run off to play at the park!
Here’s a link to the book, Twister on Tuesday: http://amzn.to/1mfIGnm
To learn more about real tornadoes you can visit this site: http://www.weatherwizkids.com/weather-tornado.htm
Feel free to tell me how your ‘Tornado in a Bottle’ turned out!