Teaching Reading Comprehension in a Fun Way!

Cover
Reading comprehension is one of the most difficult things to teach a child. Eventually, most children understand how to read and learn to read allowed fluently through decoding the words and mimicking tone and inflection that they have heard others use. But how do you teach a child to understand what they have read? That is more difficult.

Breaking the text down into chunks and discussing or asking questions about each section can help some children to analyze as they read. When a child can’t answer a comprehension question a teacher will ask the student to look back into the text to find the answer to teach the child how to skim and re-read text for specific content.

Set

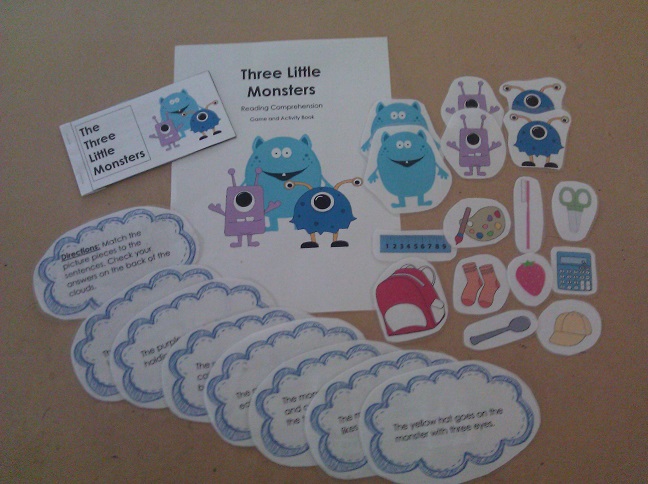
I plan to teach these concepts on a first grade level to my 6 (soon to be 7) year old by using matching, file folder, and pocket chart games. One game that I recently created is called ‘Three Little Monsters‘. This set includes 24 colorful printable game pieces and a printable 9 page activity booklet to help children practice reading comprehension in a fun way.

The Three Little Monsters game asks beginning readers (Kinder., 1st, Second Grade) to decode a sentence then to find the key elements in the sentence to create a match. The booklet asks the student to read a sentence, find the picture of the character in the sentence, and create an illustration that demonstrates understanding of that sentence.

book

Starting comprehension questions at a ‘one-sentence-at-a-time’ level and making it fun through game play is just what beginning readers need to gain a fundamental understanding of the techniques used for reading comprehension. Check out the game on my Teachers Pay Teachers Store or by following this link: http://www.teacherspayteachers.com/Product/Three-Little-Monsters-Reading-Comprehension-Game-and-Activity-Book-849003

Sudoku 4 You- A Wall Hanging Sudoku Game

sudoku 4 you game

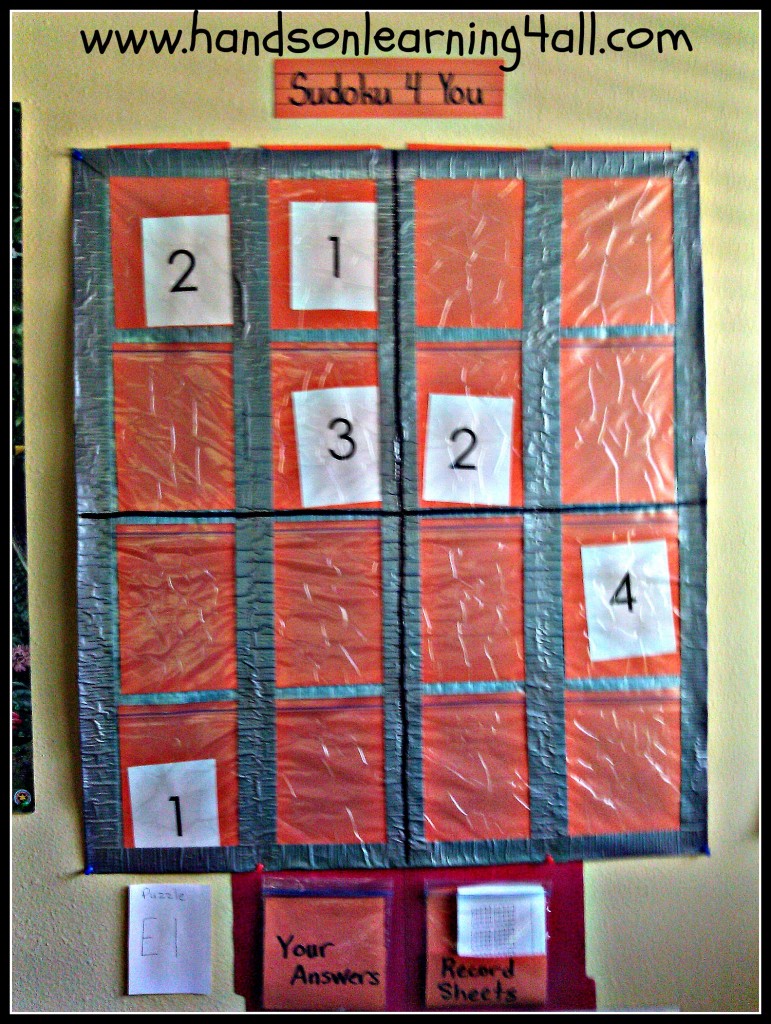
Last year I made a Boggle Wall Game for my children to play. The kids LOVED it and their friends did too. I found children visiting on playdates in our classroom playing Boggle! I felt great knowing that they found the game fun and it was educational too!!! So this year I decided to change the wall game board into a Sudoku board! I am hoping that the kiddos find this one just as fun!

I created a small 1/2 sheet of paper with several sudoku grids on it so my children could problem solve several times to find the correct answer. You can either create your own or print empty 4×4 grids here. I printed them off and hung them in a baggy near the game so my kids can simply grab one and start solving. I also hung an empty baggy on the wall under the game so they could place their completed grids in it for me to see!

I can see how this game would be great in a classroom for kids of all ages. Here’s where to get some FREE sudoku puzzles and answers to make this game easy to set up.

Get the directions to make the game board here! Need more sudoku puzzles? Here’s a book that has number and picture puzzles with directions on how to play sudoku! Don’t worry the answers ARE at the back of the book! Finally you can print large numbers and cut them out to place into the pockets of the game board or you can just write large numbers onto note cards! Have fun—and yes, adults can play too! 🙂

___________________________________________

This post may contain affiliate links. These links help to support this website. Thank you!

Landmark Challenge Pocket Chart Game- A Social Studies Game

Landmark Challenge Pocket Chart Game

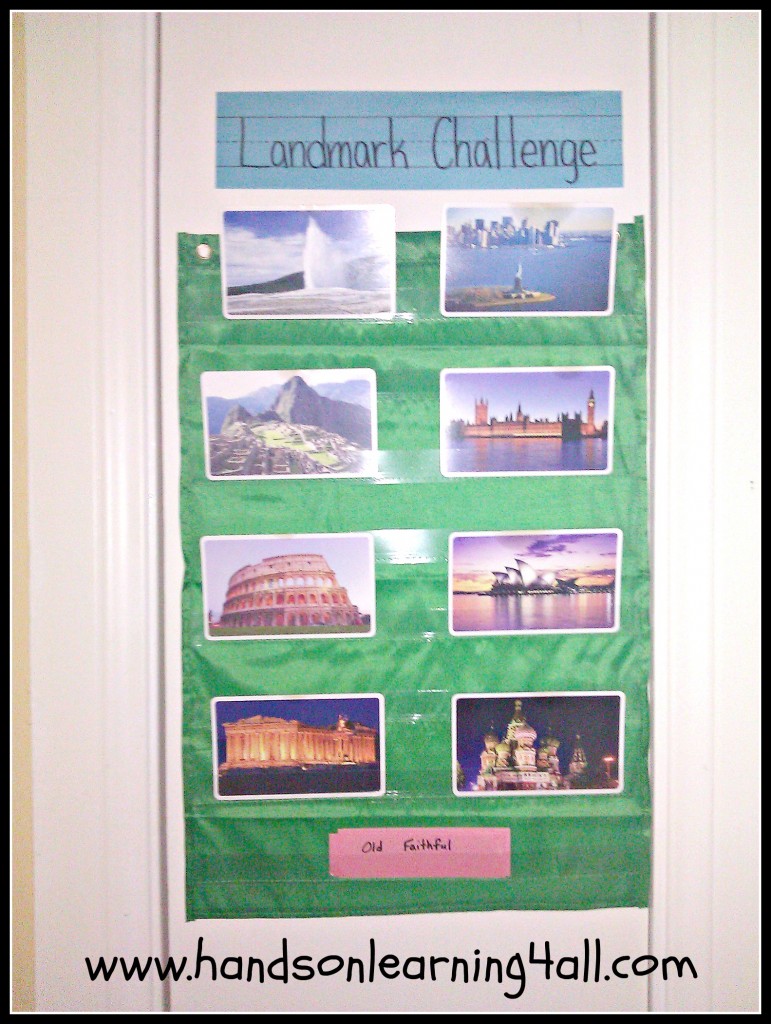
This game is all about learning about key landmarks around the world. I found these great flashcards in the Target dollar bins. But if you can’t find them you can buy them here or print US Landmarks for free here.

I simply wrote the names of the landmark on a note card cut in 1/2 lengthwise. The back of each picture flashcard has the landmark’s name and some facts about the landmark so this game is easily created and self-correcting! Yay! I am starting a new social studies series with my kiddos this year called The Story of the World and I thought this game would be a natural activity to gain some perspective on places of importance around the world.

There are enough cards that I can rotate these out on a bi-weekly basis and have almost enough cards to make this game last all year!

_____________________________

This post may contain affiliate links. These links help support this website! Thank you!

Time Matching Pocket Chart Game

Time Pocket Chart Game

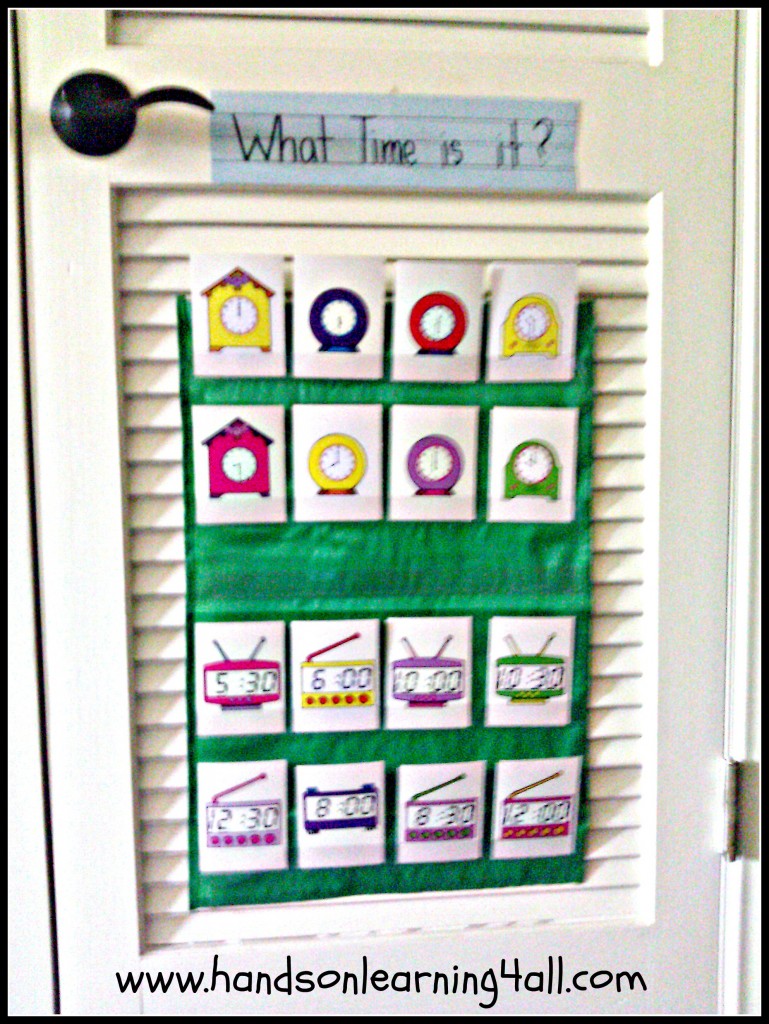
My first grader learned to read basic time last year. But I want her to review what she learned in a fun way. I found these great flash cards that have digital and analog time printed on them in the Target dollar bins. If you can’t find them you can print off FREE cards here and laminate them with clear contact paper to make this game.

I used a pocket chart from the Target dollar bins but you can buy one here. Just write the correct answers on the back of one of the cards (either digital or analog) and you have a self correcting game! This time matching pocket chart game is perfect for learning to tell time in a fun way. Start off with hour and half hour cards. Then move onto quarter hour cards. For even older children you can move up to telling time to the 5 minute mark!

_________________________________

This post may contain affliate links. The money earned from these links help support this website! Thanks!

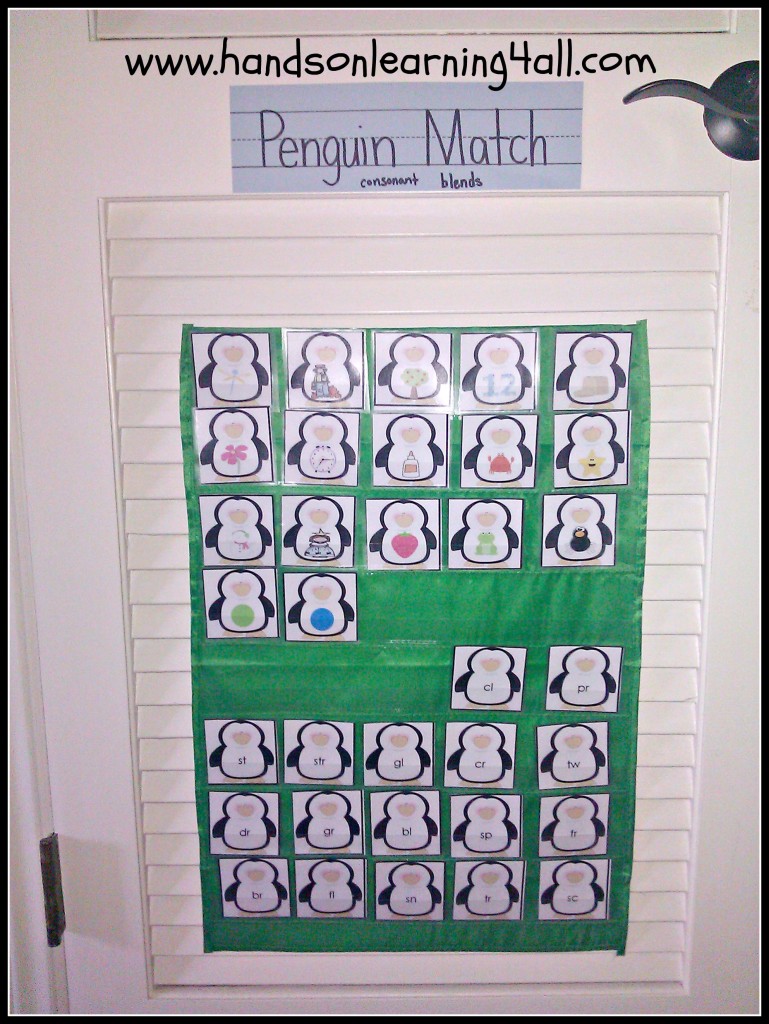
Penguin Consonant Blend Pocket Chart Game

Penguin Match Pocket Chart Game

Learning through game play makes learning more fun. I love to make pocket chart games to hang around our home-school classroom to help with ‘dead time’. Dead time is when one child has a question but I am working one on one with another child. (I home-school 3 children in 3 different grades.) I simply ask her to do a ‘sponge’ activity (an activity like a wall game or folder game that ‘sucks’ up dead time) until I can get to a good stopping point with the first child.

This consonant blends game makes the perfect activity as a pocket chart game. The game play is easy. The child simply matches the penguin with the letters of the consonant blend to the penguin with the picture that shows an object with the same consonant blend beginning sound. Write the correct answers on the back of the picture penguins and you have a self correcting game! Don’t have a pocket chart? That’s okay play this game as a memory match game instead. Either way consonant blend sounds have never been more fun to learn!

Here’s the link to the FREE printable on Teacher’s Pay Teachers: Penguin Consonant Blend Cards

Here’s a link to a pocket chart on Amazon: http://amzn.to/19C0DUF

Here’s a link to clear contact paper to laminate your pieces (no machine necessary) on Amazon: http://amzn.to/16DfSLH

__________________________

This post may contain affiliate links. The money earned from affiliate links helps us keep this site running! Thanks!

How to Create Kid-Friendly Workspaces that Keep Your Kids Busy All Day Long!

We have two times of the day when we watch TV. In the morning just after the children wake up and at night just before bed. Other than those times we have a no TV policy. So my kids need to find lots of things to keep themselves busy all day. Here’s how we set up our home so that there aren’t a lot of “I’m bored!” statements.

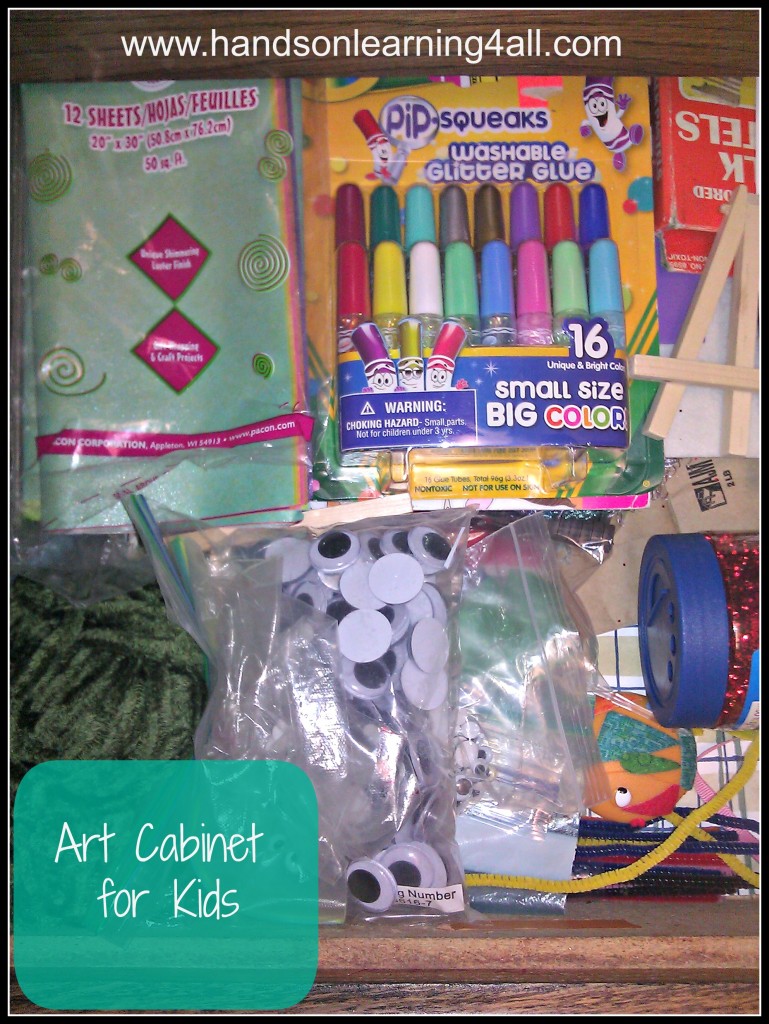
art cabinet for kids
Art cabinet
I have an entire cabinet in my laundry room dedicated to arts and craft supplies. Ziplock bags full of stickers, feathers, pom poms, and yarn. I have drawers full of construction paper, glitter, pipe cleaners and googly eyes. I have a shelf devoted to paint, brushes, water containers and rags. My children always have access to this cabinet. We have dedicated a counter in my kitchen to art (when I am not using it for cooking.) This is the counter most painting and craft projects happen. I have taught my children to wear smocks and we keep those hanging on the wall where the children can reach them. I have also taught my children how to clean up. My children are 11yo, 8yo, and 6yo–> my six year old is very capable of taking out the paint/craft supplies, doing art, then cleaning up==> all on her own!

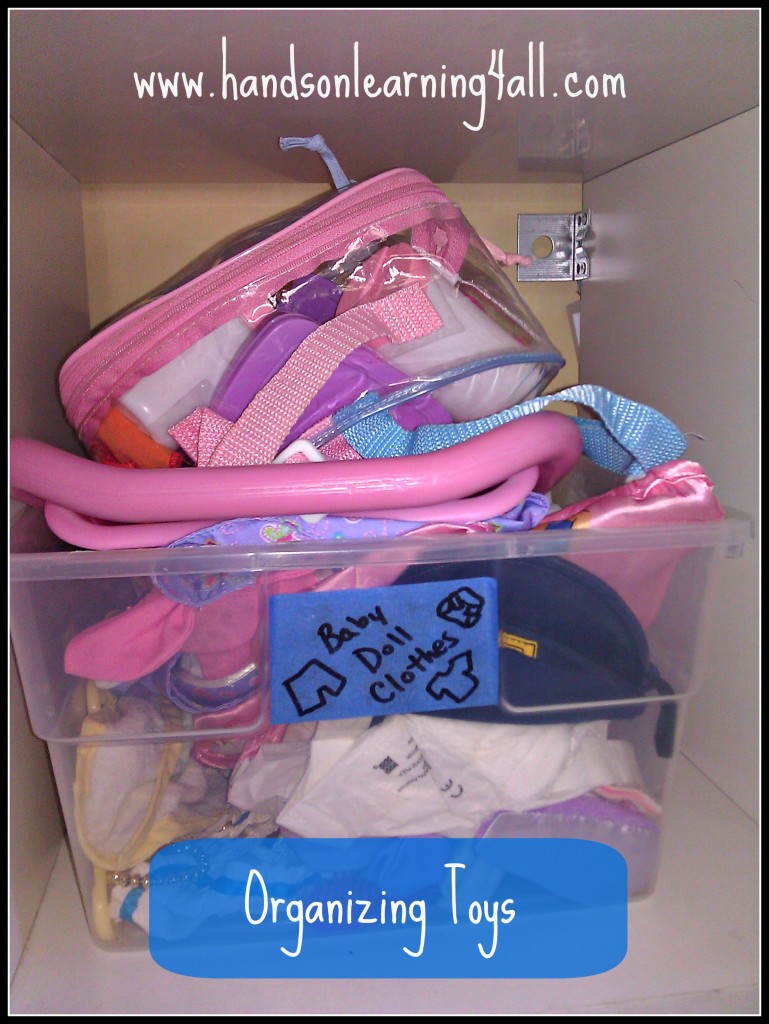
Organizing Toys
Toy Bins
We purchased an IKEA cube shelf a LONG time ago to organize the toys that we have. I bought plastic rectangular ‘shoe’ bins with lids to contain the toys on the shelf and make for easy transportation to the living room (or elsewhere.) And I labeled each of the bins with masking tape with written words and pictures of the item (When my children were toddlers and they couldn’t read, they could look at the pictures and know which toy belonged in that container.) This system was adopted from a preschool daycare philosophy and we found it made finding toys and cleaning up toys very easy. Toys tend to get lost in toy boxes and missing/broken pieces make toys less attractive to kids. By adopting this preschool philosophy of toy storage we have been able to maintain the quality of our toys ==> some for more than 11 years!

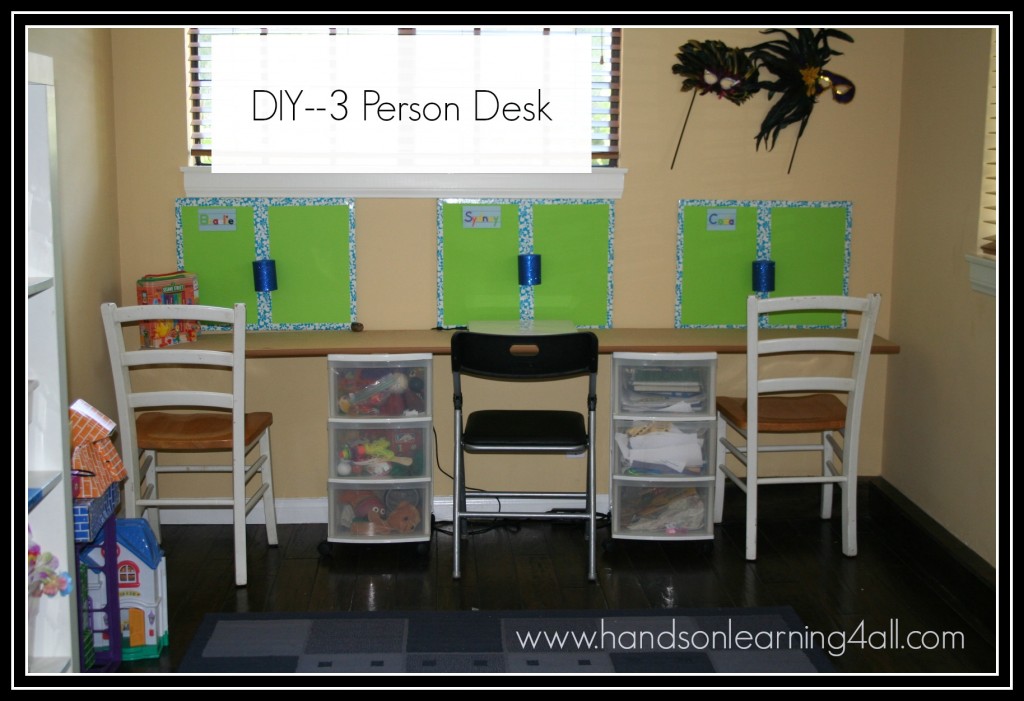
DIY 3 person desk
Work Space
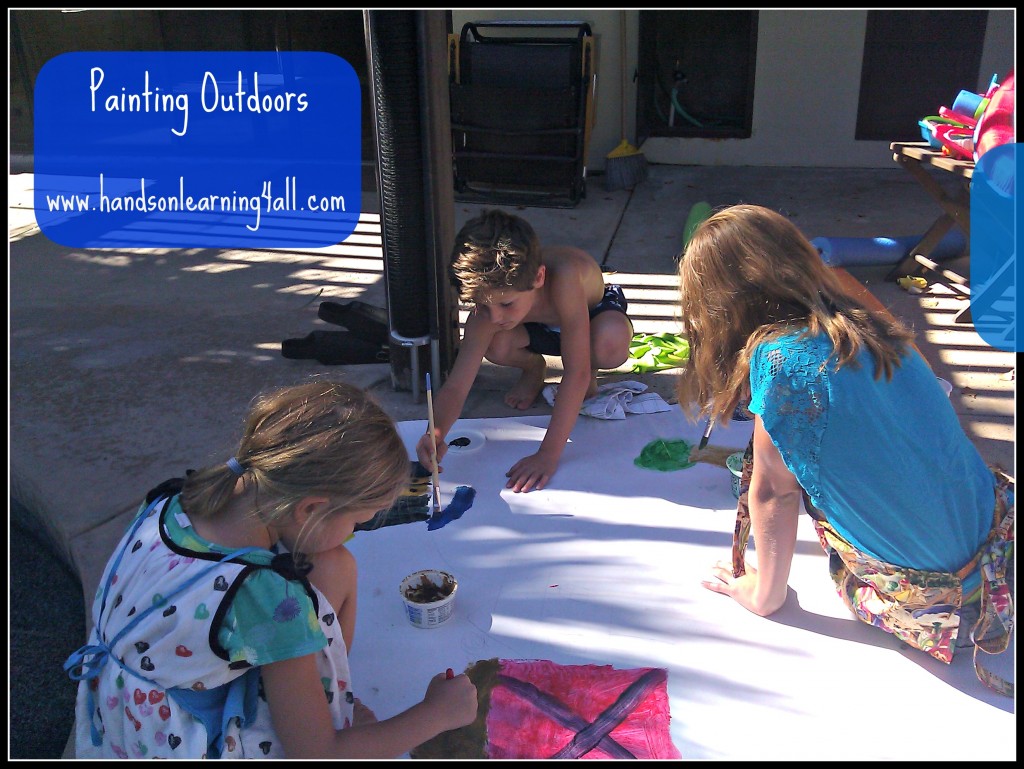
We have a toy room where we keep most of our toys. This room is kid friendly with a kid-sized table, stools, area rug and lots of kid artwork on the walls. This is where we display all of our masterpieces and conveniently this system allowed me to maintain more ‘adult’ decor throughout the rest of the house! Bonus! Since my children were toddlers we have always had an art area. There is an easel set up with a paper roll in our toy room now, but when they were small I had an art table with a roll of paper on it and markers and crayons readily available. When they were toddlers I assisted them with painting and we did a TON of painting outside. In fact I kept an easel outdoors during their younger years! Now they paint either at the easel or on the counter in the kitchen ==>and even outdoors sometimes. Today they are painting a scene for a movie they are shooting called “The Secret Woman.”

Painting Outdoors

Creating kid-friendly work spaces and teaching your children how to use them is key to keeping your kids ‘working’ all day on creative activities. If your toys and arts/craft supplies are organized at the child’s level and your children know how to use them AND clean up, your kids will surprise you with how busy they can be all day long. You will never (okay==> almost never) hear, “I’m bored.” AND best of all your kids will surprise you with their creative, innovative ideas!

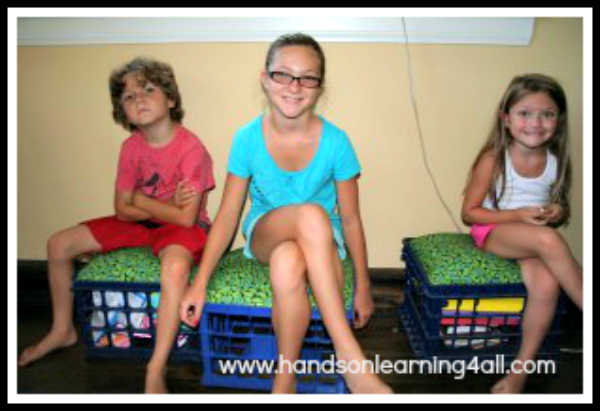
DIY Milk Crate Seats!

DIY Milk Crate Seats!

_______________

Disclaimer: The post above may contain affiliate links.

5 Minute Learning Centers: Scrambled Sentences Pocket Chart Game

pocket chart scrambled sentences

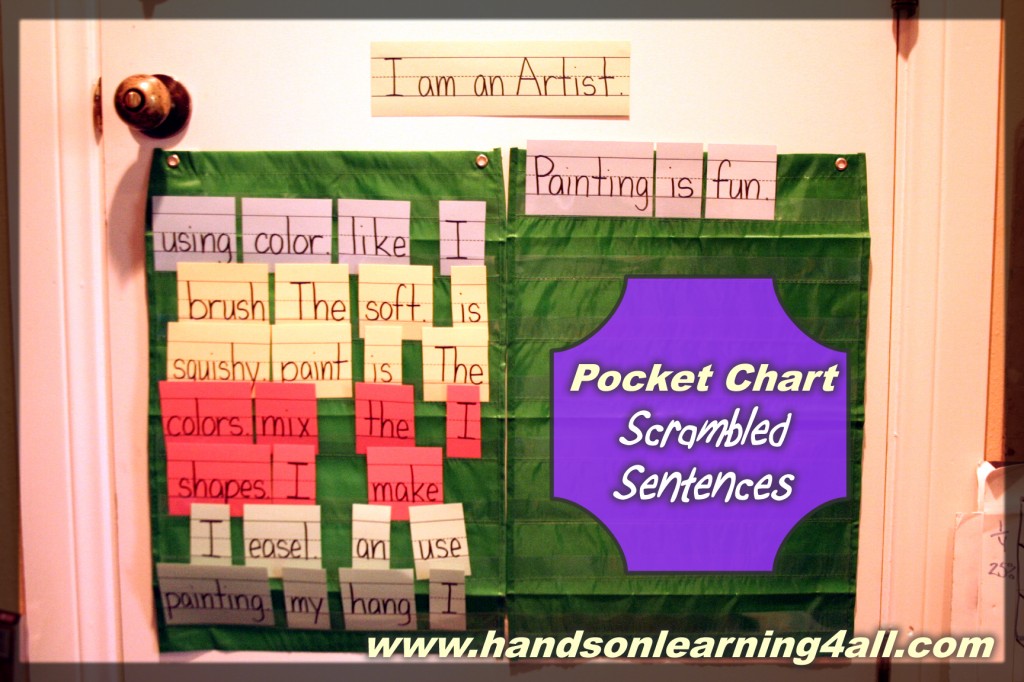
This game is so easy to make. I found the mini-pocket charts at Target in the dollar bins! But you can buy them here from Amazon==> Mini-Pocket Chart Link. I bought the sentence strip paper at my local school supply store but you can buy it here from Amazon==>Sentence Strip Paper.

Next you just make up a story that is eight sentences long. Here’s an example:

I am an Artist

Painting is fun.
I like using color.
The brush is soft.
The paint is squishy.
I mix the colors.
I make shapes.
I use an easel.
I hang my painting.

Just print the words for the sentences on the sentence strips and cut them out. The pocket chart on the left is for the mixed up sentence. The pocket chart on the right is for the correctly arranged sentence. One of the great things about this game is that it is self correcting. If the sentence makes sense and the story sounds correct the player has achieved the correct answer!

A new scrambled sentence game can be used for each theme or change of season. One game but it can be used all year with a new story each time! I use this as a center activity when I need to get some one on one time with my kiddos. Older kids can even make up a story for this game. The possibilities are endless!

5 Minute Learning Center: Think Math!

Think Math

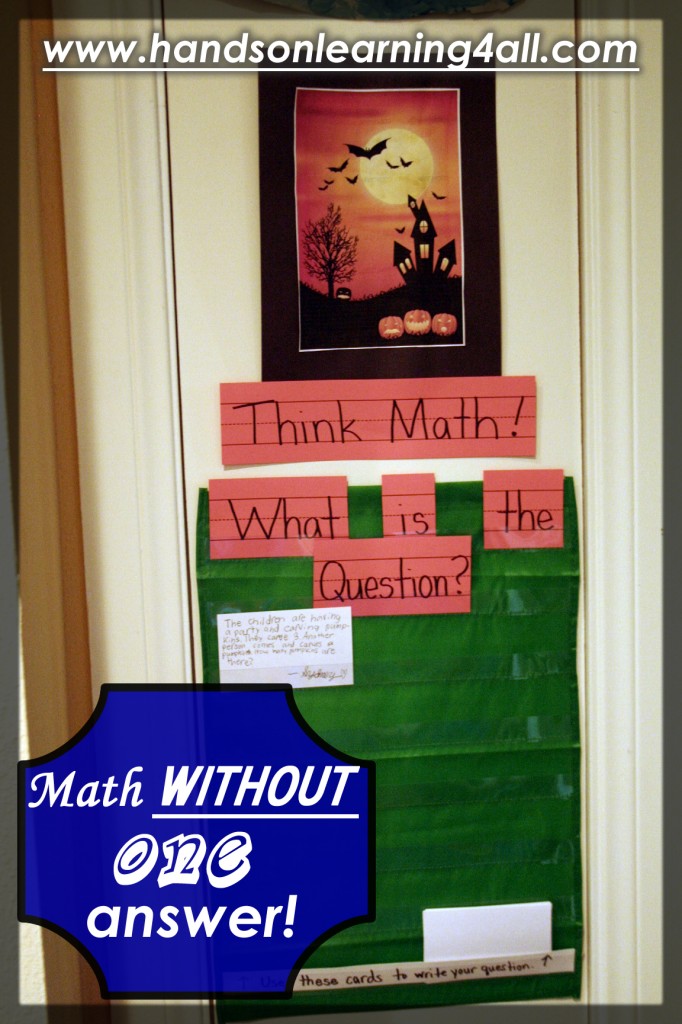
Here’s a learning center that comes together in the same time it takes you to print out a picture. Find any picture with multiple things on it. (The picture above has several bats, pumpkins and houses.) Write “What’s the question?” on tagboard. Then sit back and wait for your kids to come up with all kinds of creative answers.

This learning center uses open ended questioning to inspire critical thinking skills. It is perfect as a ‘between lesson’ activity when you are working with another child. Post the students ‘answers’ below the question. The best part of this activity is one child can answer as many times as he/she likes…the possibilities for answers are endless and not limited to any age group. This ‘Think Math’ center can be used with all of your children from Kindergarten through 12th grade!

Remember to credit www.handsonlearning4all.com when you pass this idea for a “Think Math” center on to your friends!!!!

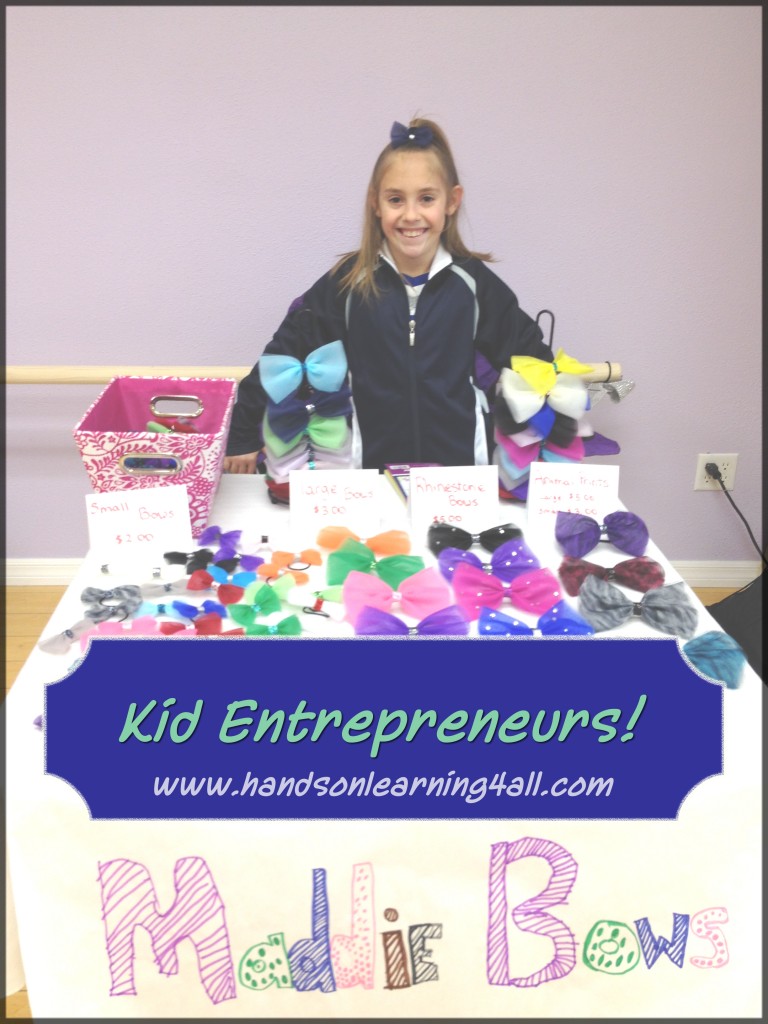
Kid Entrepreneurs!

Maddie Bows2

I homeschool my three children. They are always coming up with new crafts and items to sell. So a few years back I decided to organize an entrepreneur day for some children in our local homeschool group. From this simple idea came many, many wonderful and exciting new products. The children that attended sold cookies, purses, toys, jewelry, bows and so many other great things.

One child in particular took her idea for a booth at our little entrepreneur day and turned it into a money making business with a goal in mind. She wanted to earn enough money to send herself to cheer camp. AND guess what===> she did!!!! I recently interviewed this young entrepreneur about her business with the hope that her story may inspire the inner entrepreneur in your children.


HOLFA: What is your business and your business name?

Maddie: My name is Maddie Waschak and I am 10 years old. I hand make and sell hairbows attached to rubberbands or barrettes. I mostly make my bows out of tulle, but I also use ribbon and rhinestones. My business name is Maddie Bows!

HOLFA: How did you get started in business?

Maddie: I first got the idea when Ms. Veronica decided to do an entrepreneur fair for home-schoolers. I know a Mom that makes really pretty cheer bows and I thought maybe I could make some bows of my own for the fair. I was so excited when people liked my bows!

HOLFA: How did you learn to manage the money for your business? Are you saving for anything?

Maddie: At first my Mom bought me all the supplies I needed, but when I started making money she told me that I would have to use my profit to buy more supplies. At first it was hard to spend my money on supplies but I learned how to price my product so that I could buy supplies and still make money. I have a special wallet that I keep all my money in; I also use it to make change for people who buy my bows. When I get too much money in my wallet my mom takes some and puts it into the bank. I wanted to save up enough money to pay for a really expensive sleep away cheer camp this summer.

HOLFA: Do your family members help you? How?

Maddie: My family sometimes helps me. The really tiny rhinestones are hard for me to apply so my mom puts those on. She taught me how to use the glue gun and checks to make sure that all my bows are selling ready. My brothers have helped me by going to events and taking turns sitting in my booth to sell bows when I can’t be there the whole time. Sometimes I will get orders when I am busy with school or gym or other stuff and my Mom always say school comes first. She sometimes helps me fill orders so I won’t miss out on other important stuff. My friends and cousins also help me come up with new ideas and help me make bows.

HOLFA: How do you see the future of your business?

Maddie: My brother wants to open an ETSY store for me and get me my own website. I would love to start selling my bows at stores and online. Right now I have someone who is helping me get started doing craft fairs and boutiques.

HOLFA: Do you have anything else you want to share?

Maddie: I managed to raise almost $600 this year and I was able to pay for my sleep away camp with a little help from my Mom. I can’t wait to go!! I have learned a lot this year from my business. I learned that making money is not easy and you have to spend money to make money and it takes lots of work.


I hope that sharing this interview with you has inspired you to listen to the entrepreneur waiting inside your child. Children are capable of being business owners and in some ways they are better at taking this leap into the unknown because they are natural risk takers. As adults we have too many responsibilities to take a risk with our career and income. But as children they have nothing to lose and EVERYTHING to gain. Successful entrepreneurs will tell you that it has taken a lifetime of mistakes and failures to get where they are. Why not start as a child?

Activity Ideas Using Books as Inspiration!

I love reading books with my kids! Something just feels right about snuggling up and reading a good story. After the story we both feel like there should be something else that we do together. So here are a few of our favorite follow-up activities. You can do these or use these as ideas to create your own. Either way it will be double the fun from the same book!

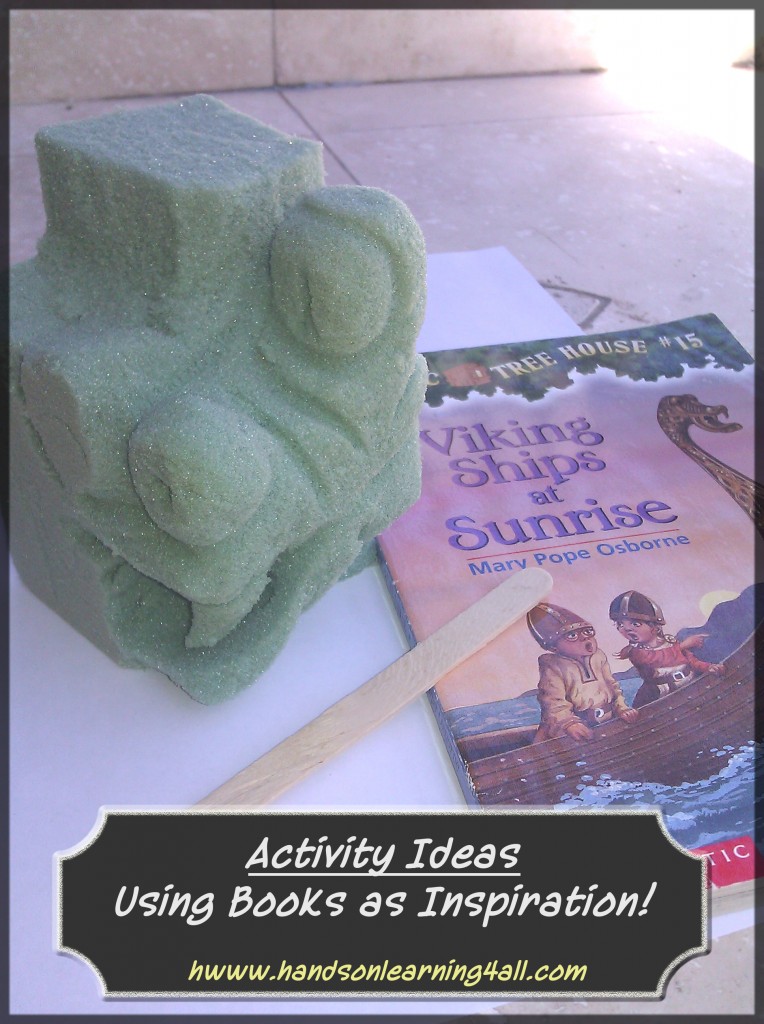
Viking Ships at Sunrise by Mary Pope Osborne

Activity Ideas-Book Inspired

This book inspired activity will be especially intriguing to kids from 5-8 years old. We used floral foam and popsicle sticks to carve out our own viking ship figureheads. Start with a small block and a picture of something you want to carve. We used the cover of the book as inspiration. Start with a drawing of the figure on the front face of the block and work backward. Again, perfection isn’t important here. Your children will be developing critical visual thinking skills and having fun at the same time. Be sure to do this activity outdoors as the floral foam can get messy.

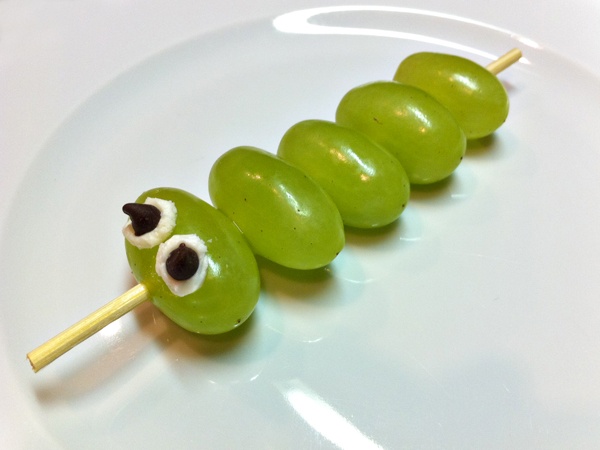
The Very Hungry Caterpillar by Eric Carle

Photo credit: http://pinterest.com/pin/343258802819169275/

Photo credit: http://pinterest.com/pin/343258802819169275/

This book inspired activity is great for kids of all ages but toddlers will gain the most from it. The fine motor muscles of your toddler/preschoolers fingers and hands will get a work out poking the grapes onto a skewer, squishing cream cheese out of a piping bag, and poking mini-chocolate chips for the eyes onto these critters. Be sure to use the whipped cream cheese and a homemade piping bag (from a ziplock sandwich bag and zip the top closed) for maximum success. Remember perfection isn’t necessary here because these caterpillars will be delicious no matter what they look like AND lots of fun too!

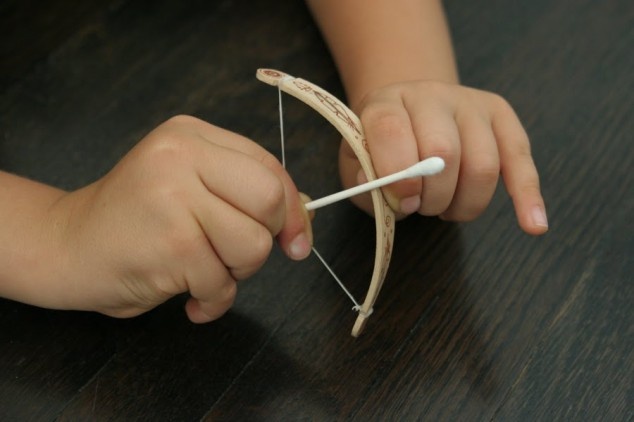
The Indian in the Cupboard by Lynne Reid Banks

Photo Credit: http://pinterest.com/pin/343258802819221851

Photo Credit: http://pinterest.com/pin/343258802819221851

This book inspired activity is great for older elementary kids from 8-11 years old. Using popsicle sticks soaked in water, dental floss, a moderately sharp cutting tool (AND a little help from parents here), and Q-tips as arrows your kids can make a really cool bow and arrow set. Click on the picture to follow the link to Pinterest for full directions. My kids LOVED using these and even set up a mini target for aiming their bows and arrows.

I hope that this post has inspired you to read with your kids and to get them creating some book inspired activities. I would love to hear about the great things you come up with!